-
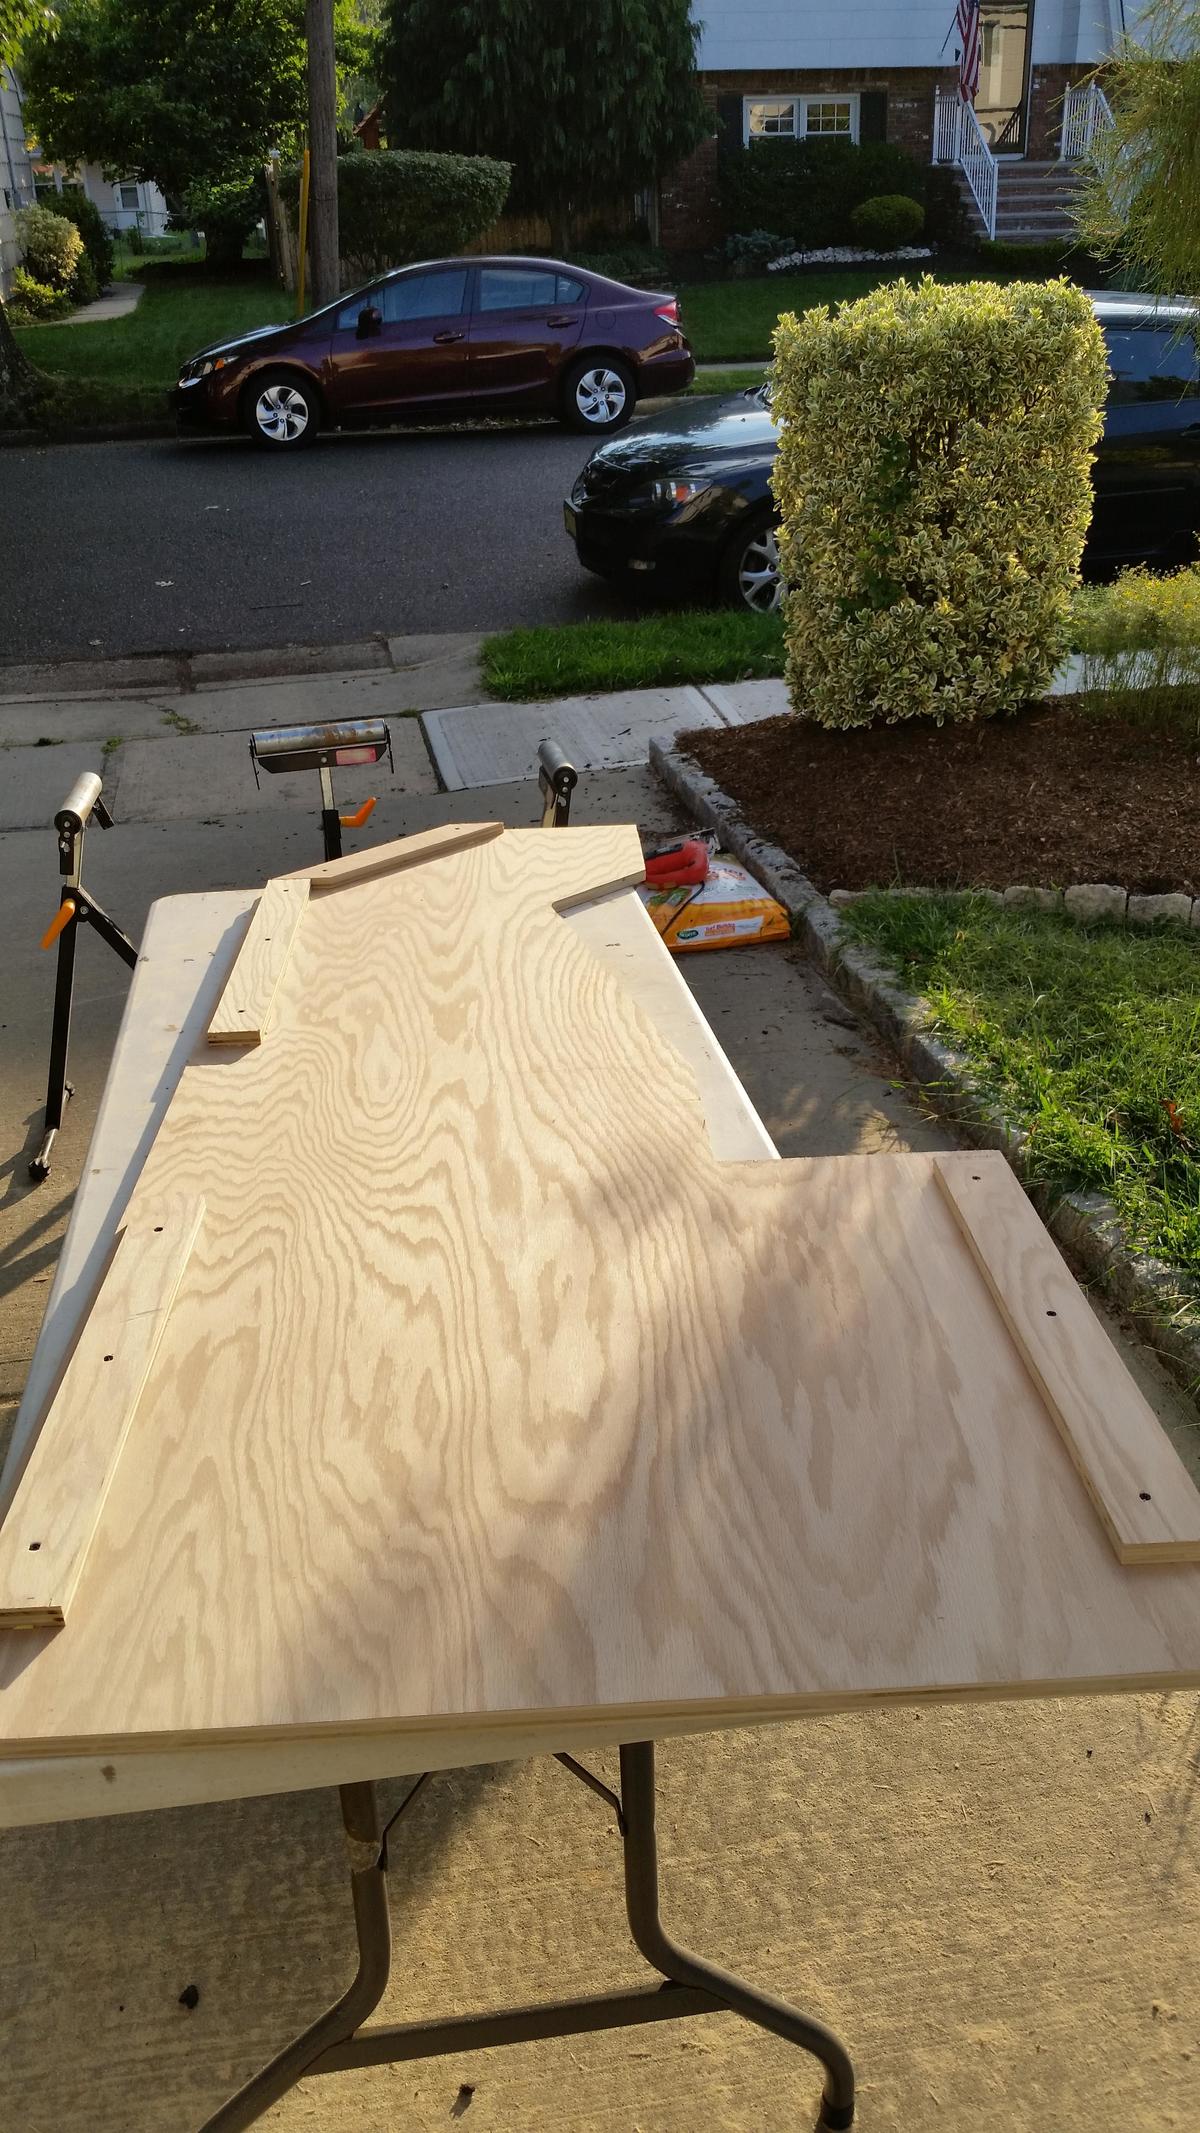 The first picture I took. Side piece with some braces attached.
 -
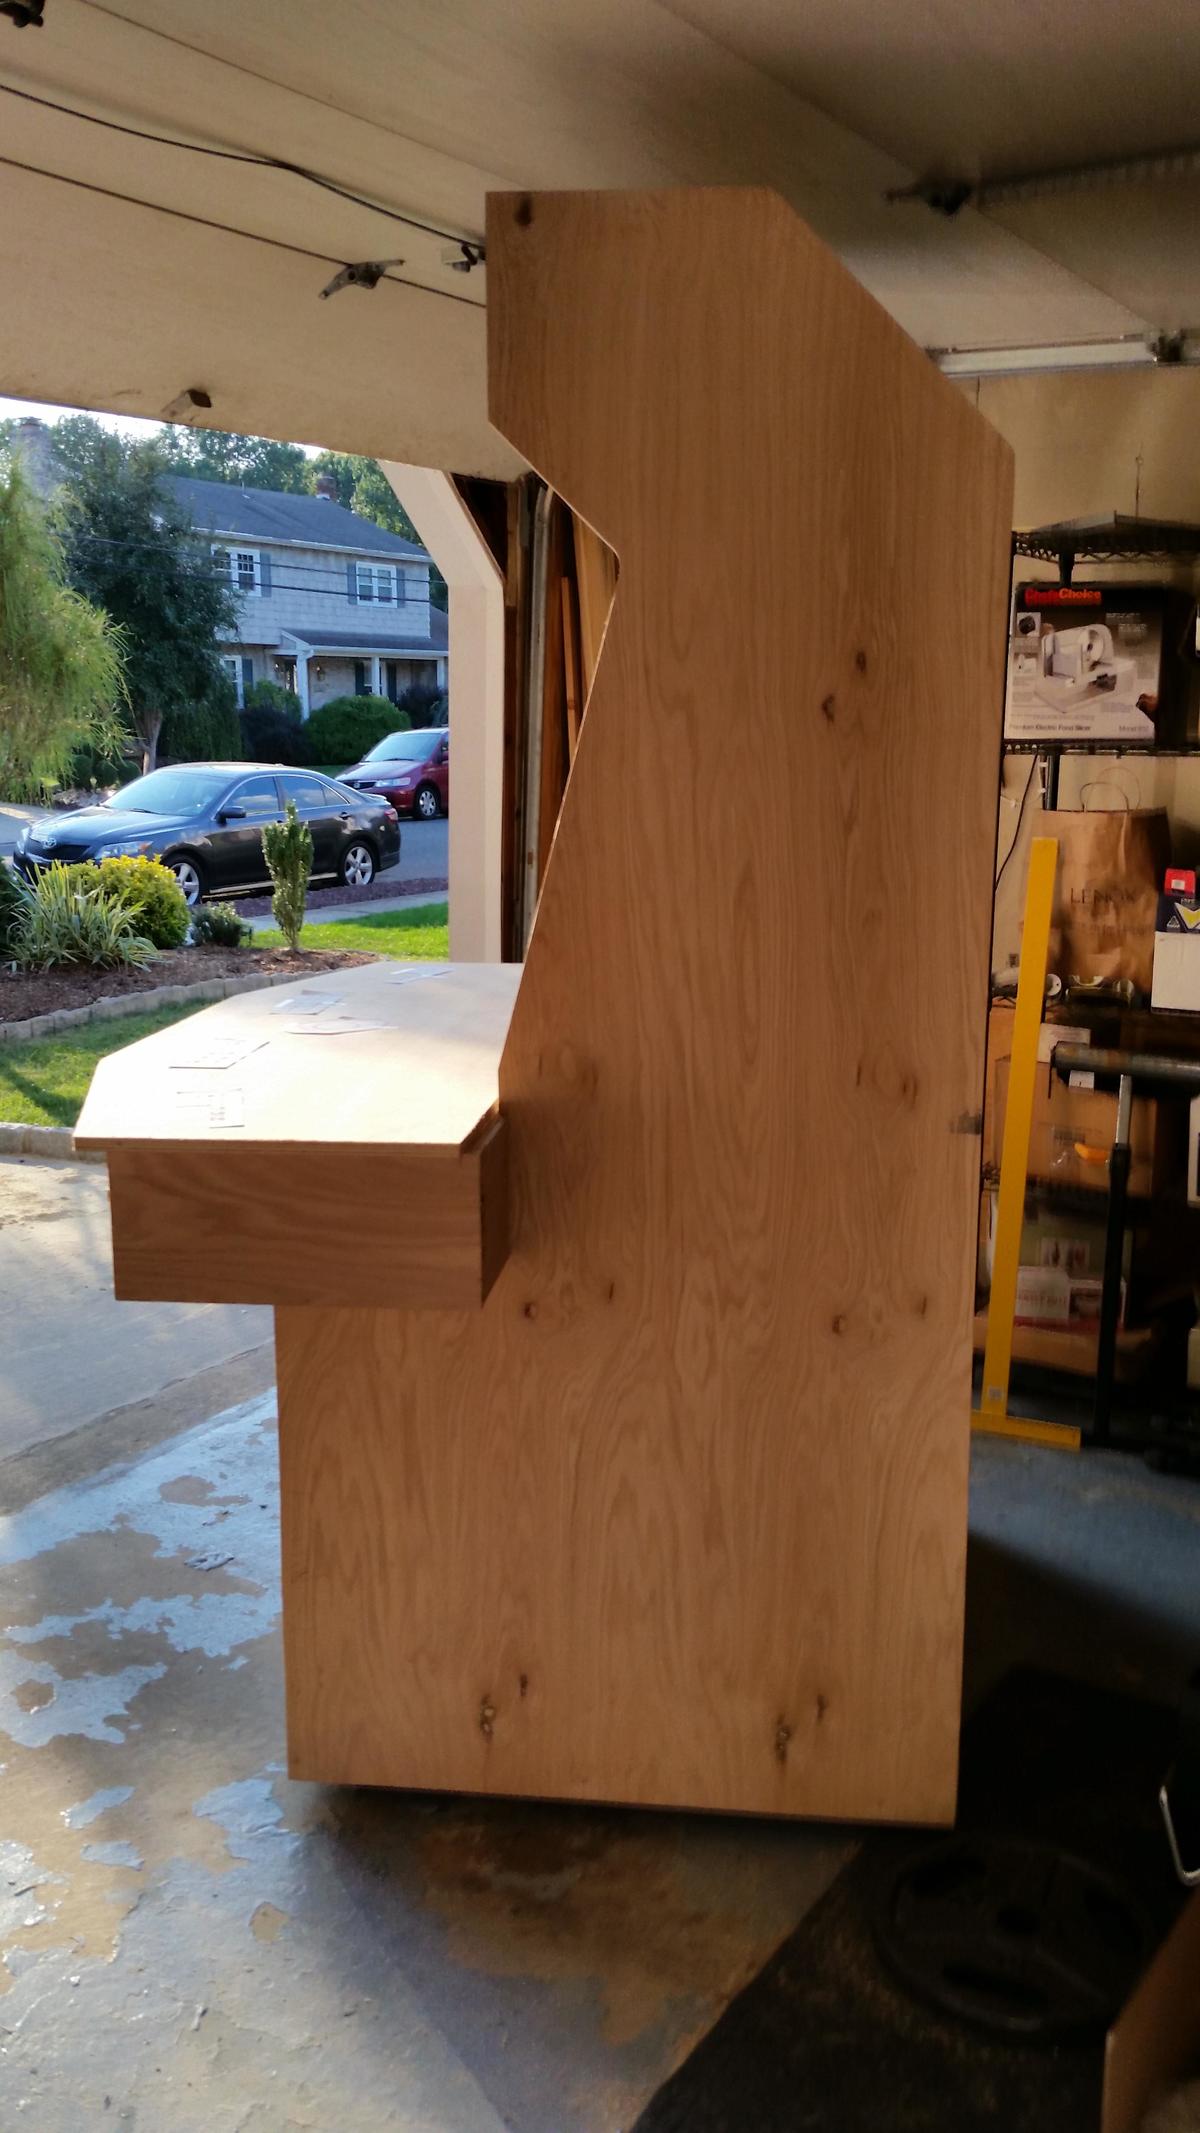
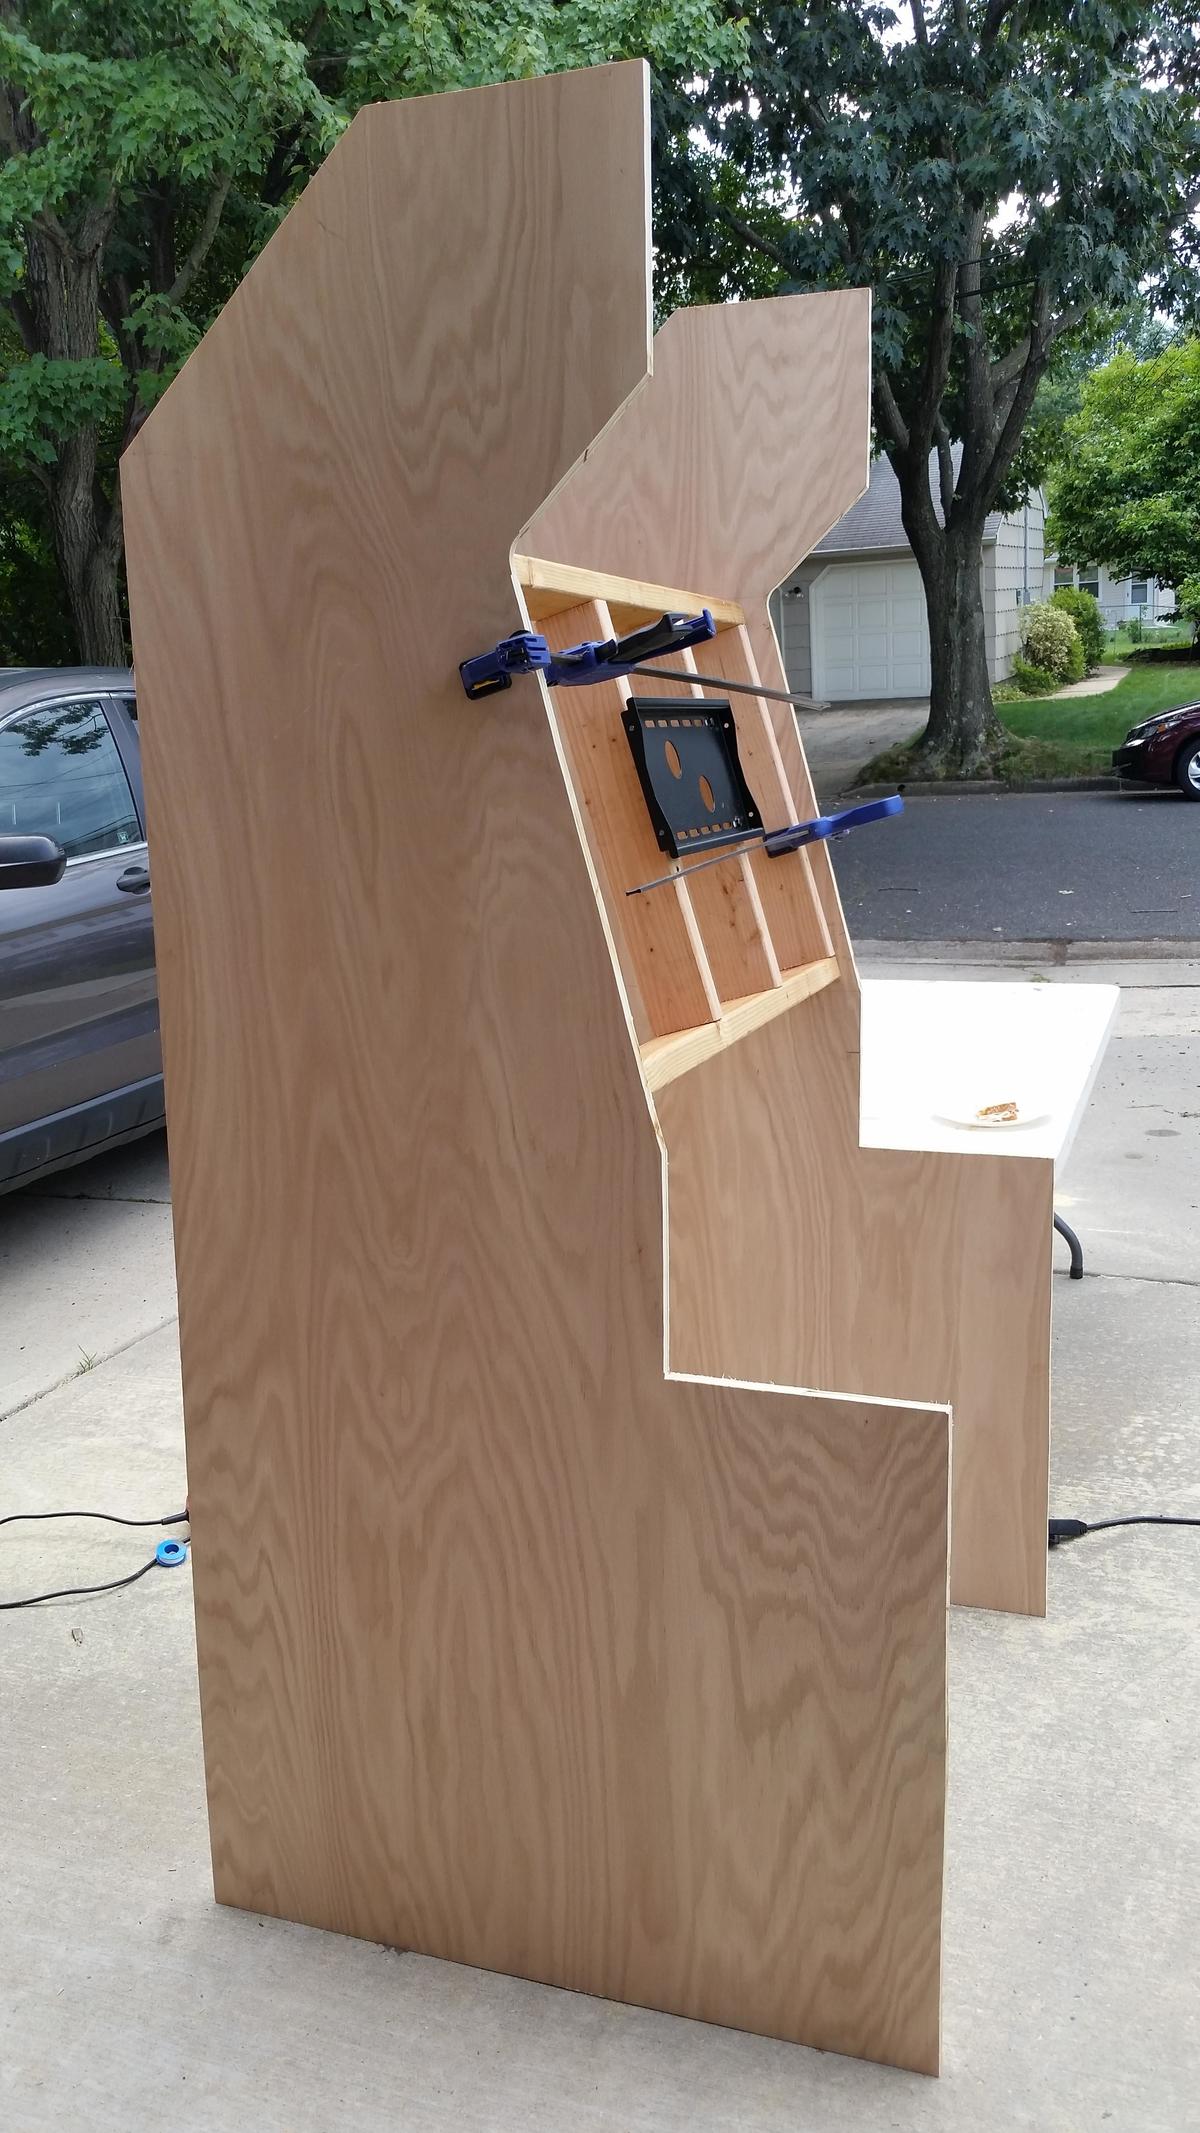 Starting to get a skeleton together. Two side pieces and the TV mount.
 -
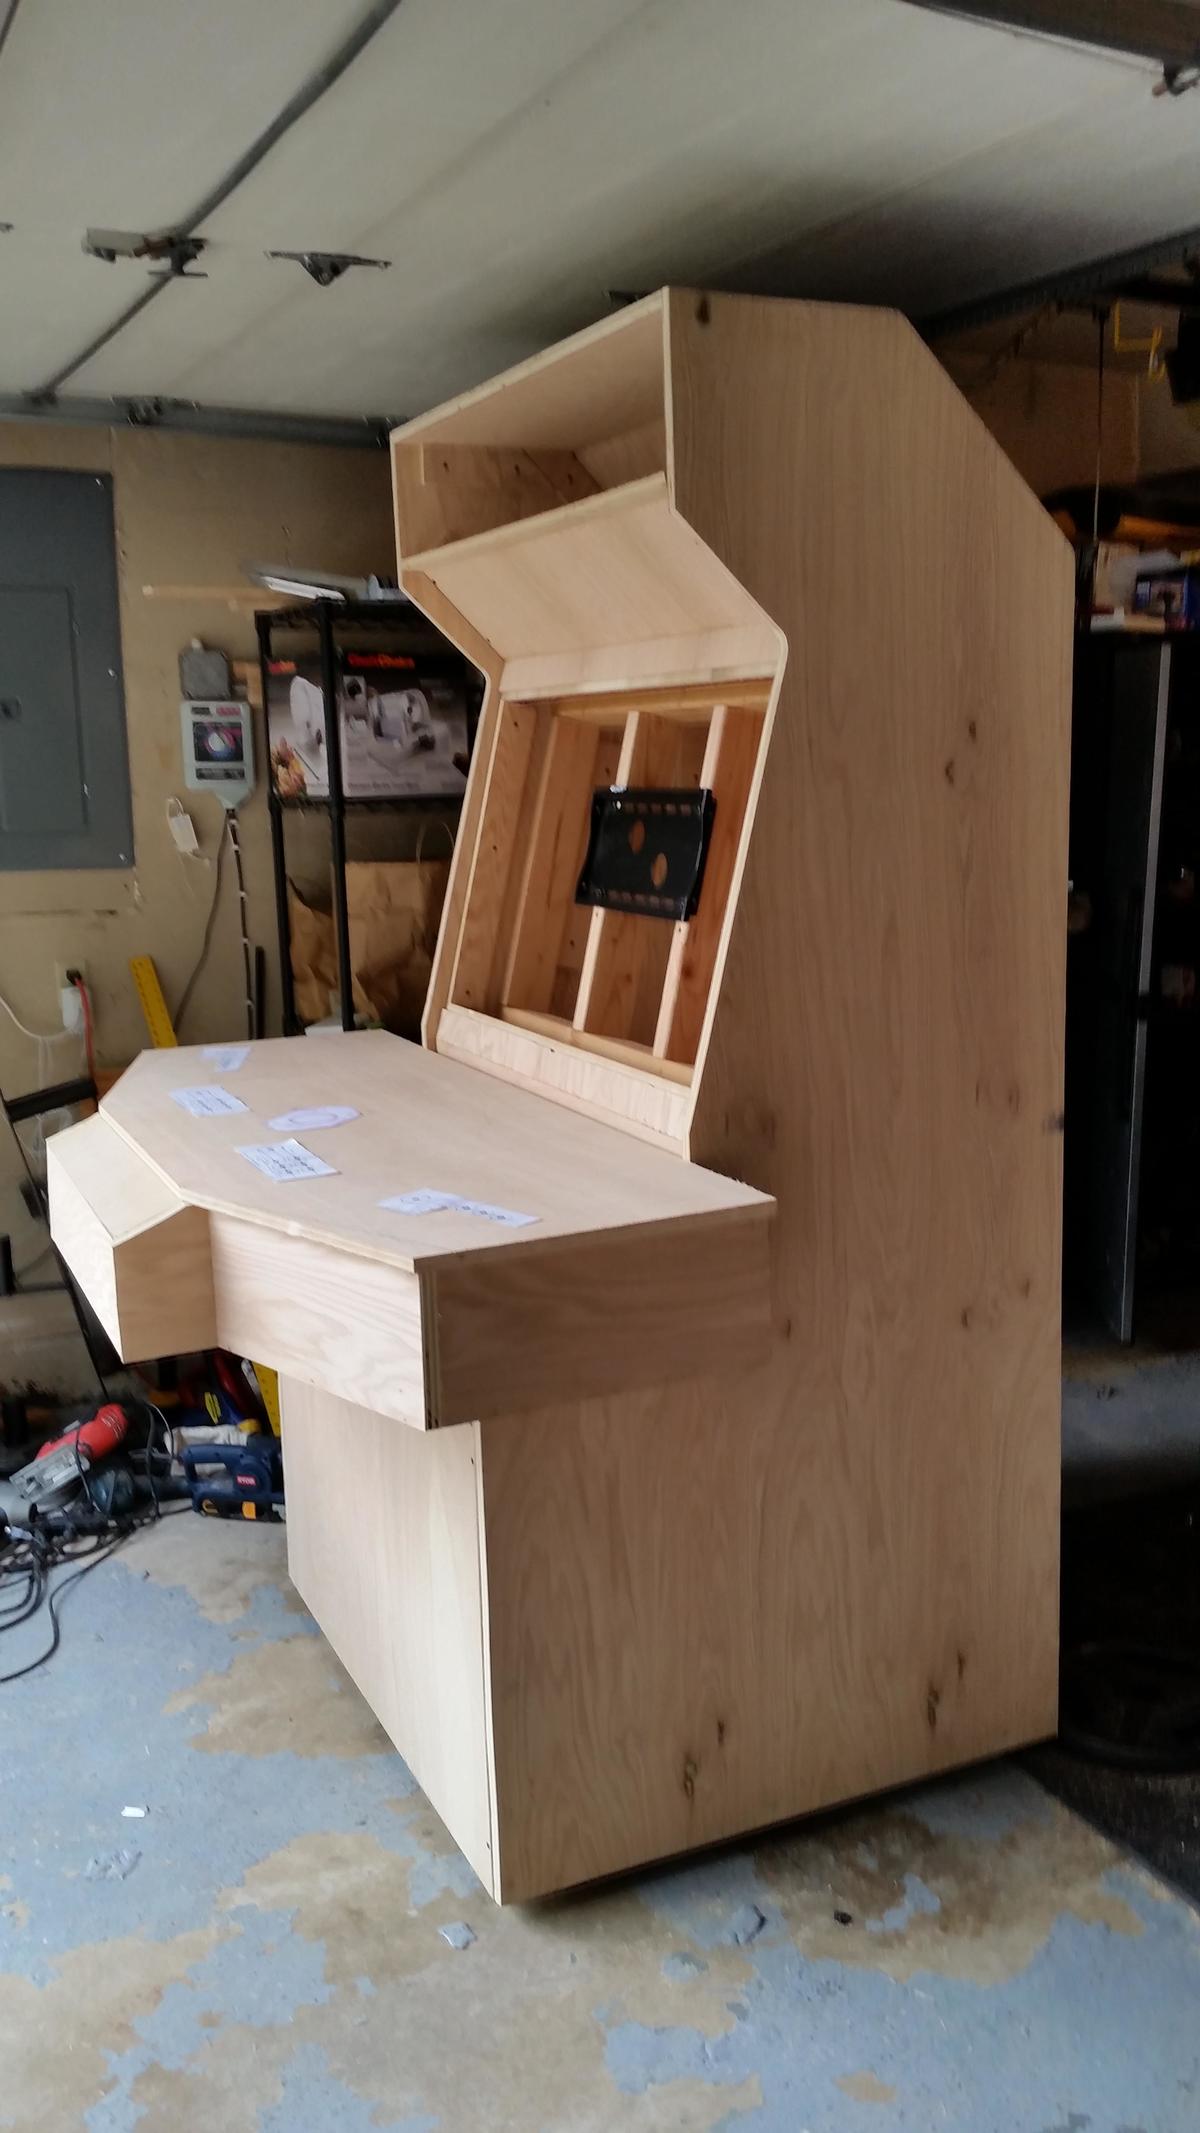
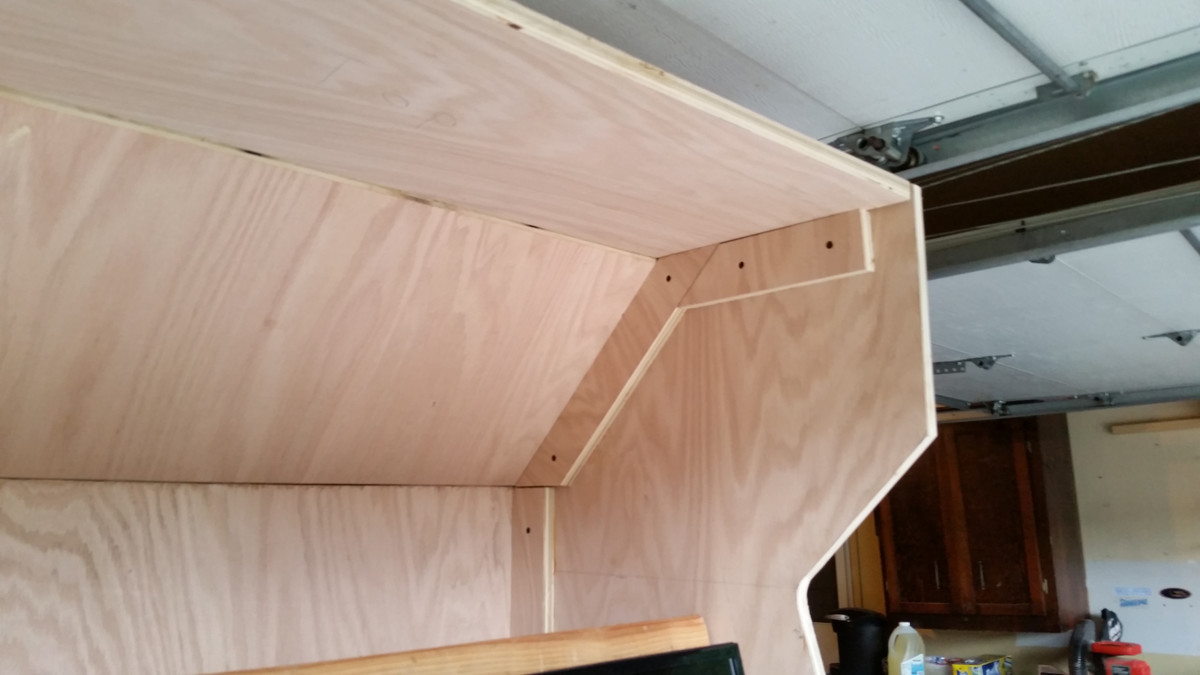 Close up of the top. Shows how the braces are used to secure all the pieces.
 -
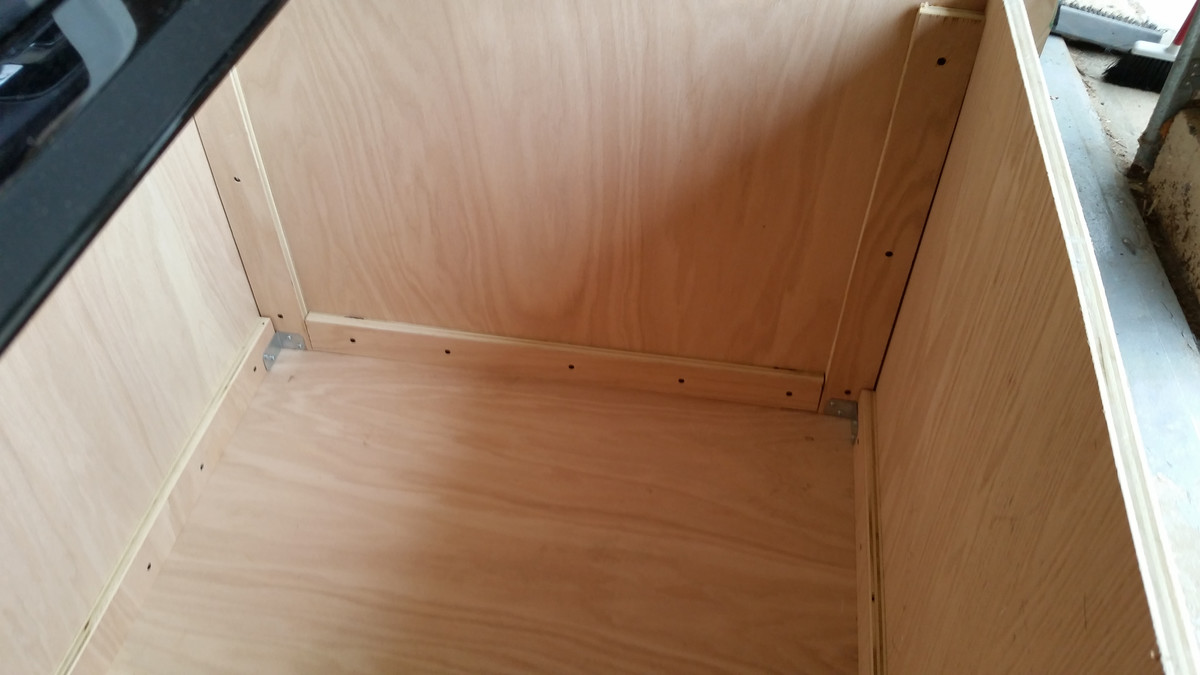 Interior of the bottom.
 -
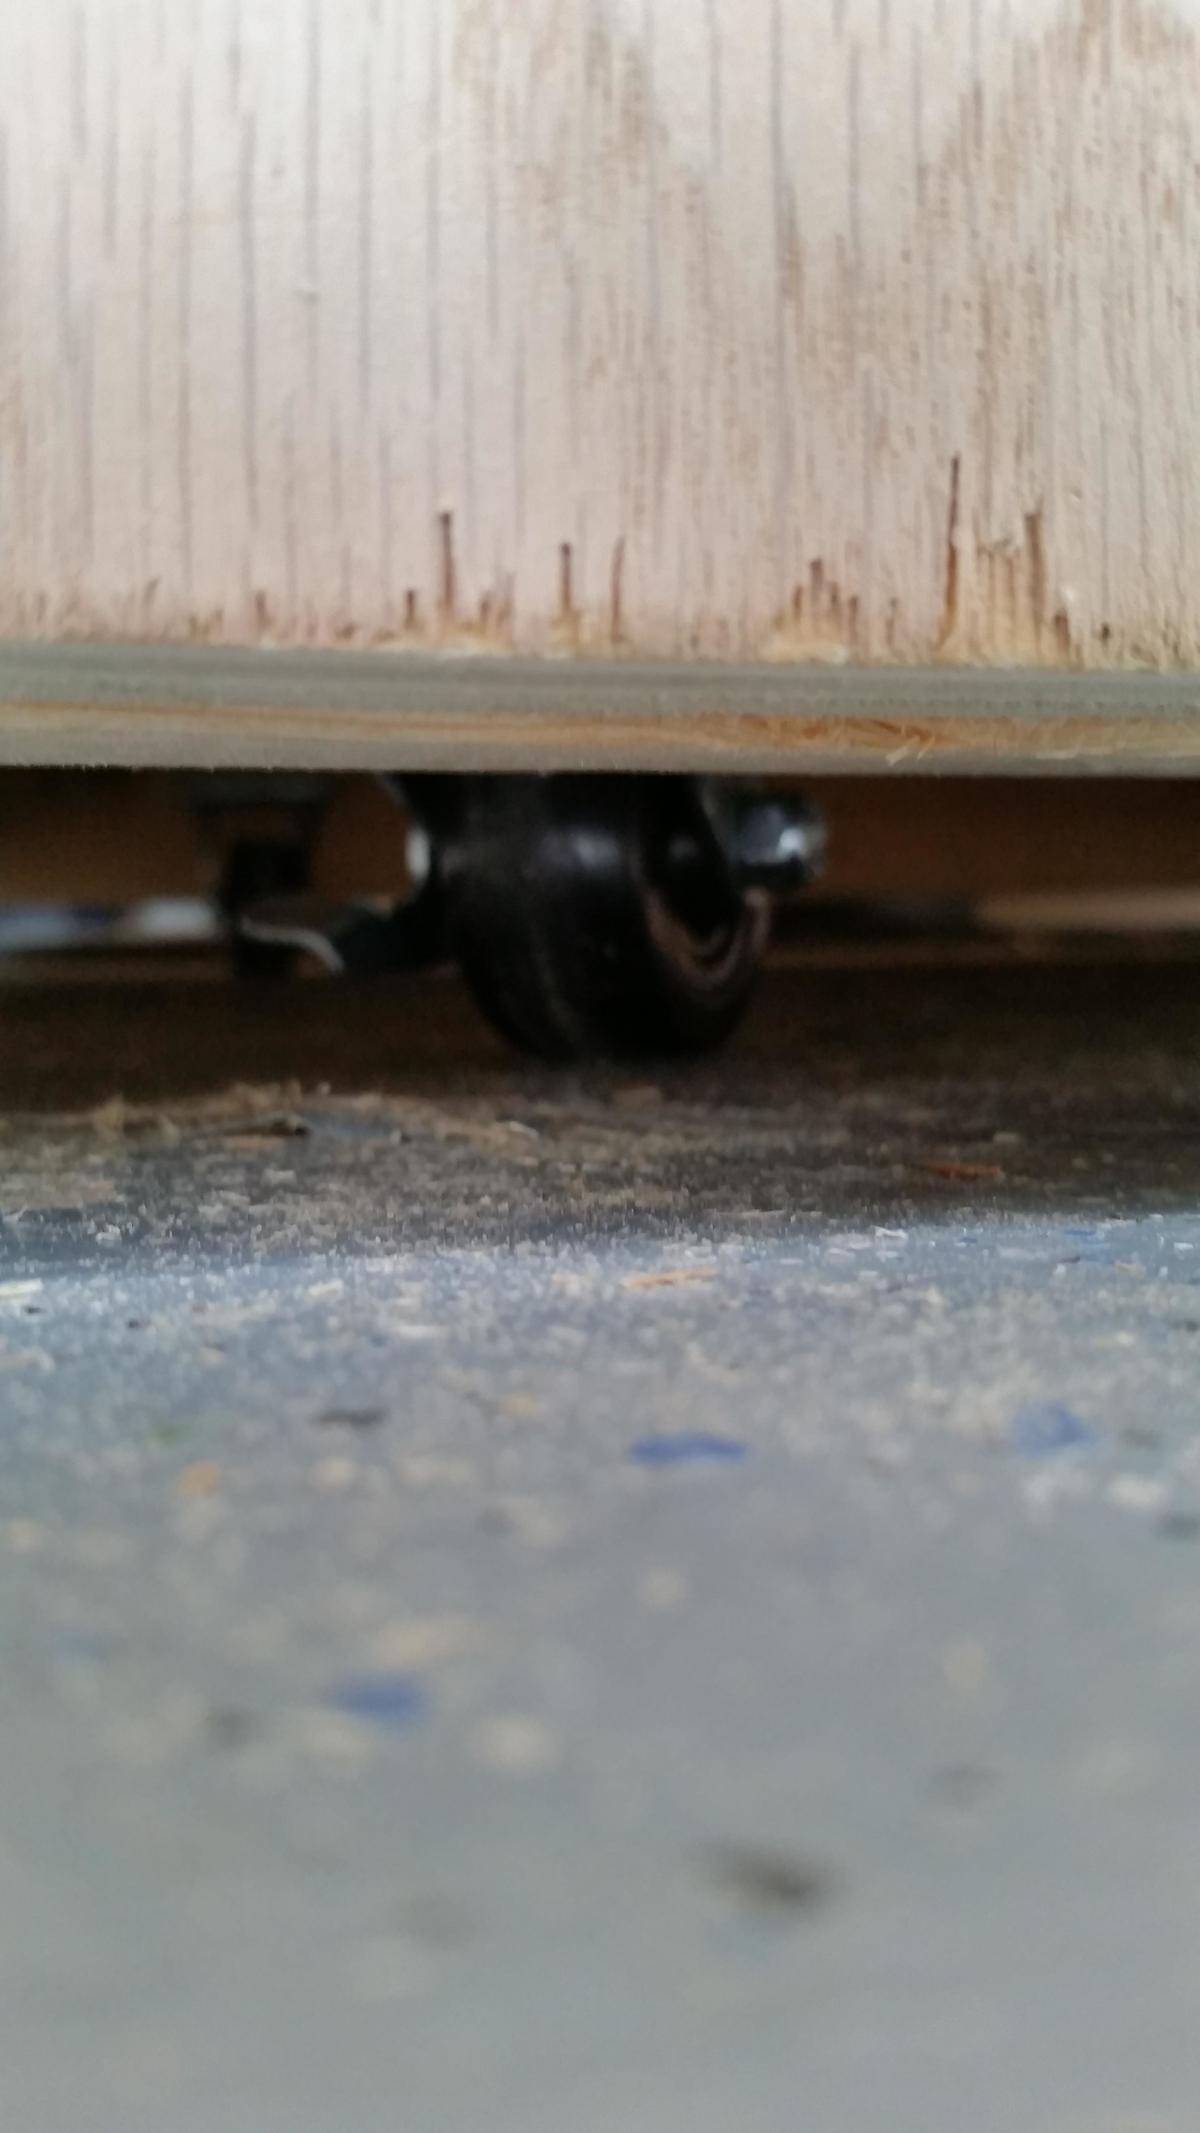 Caster wheels on the bottom. Absolutely necessary to move this beast around.
 -
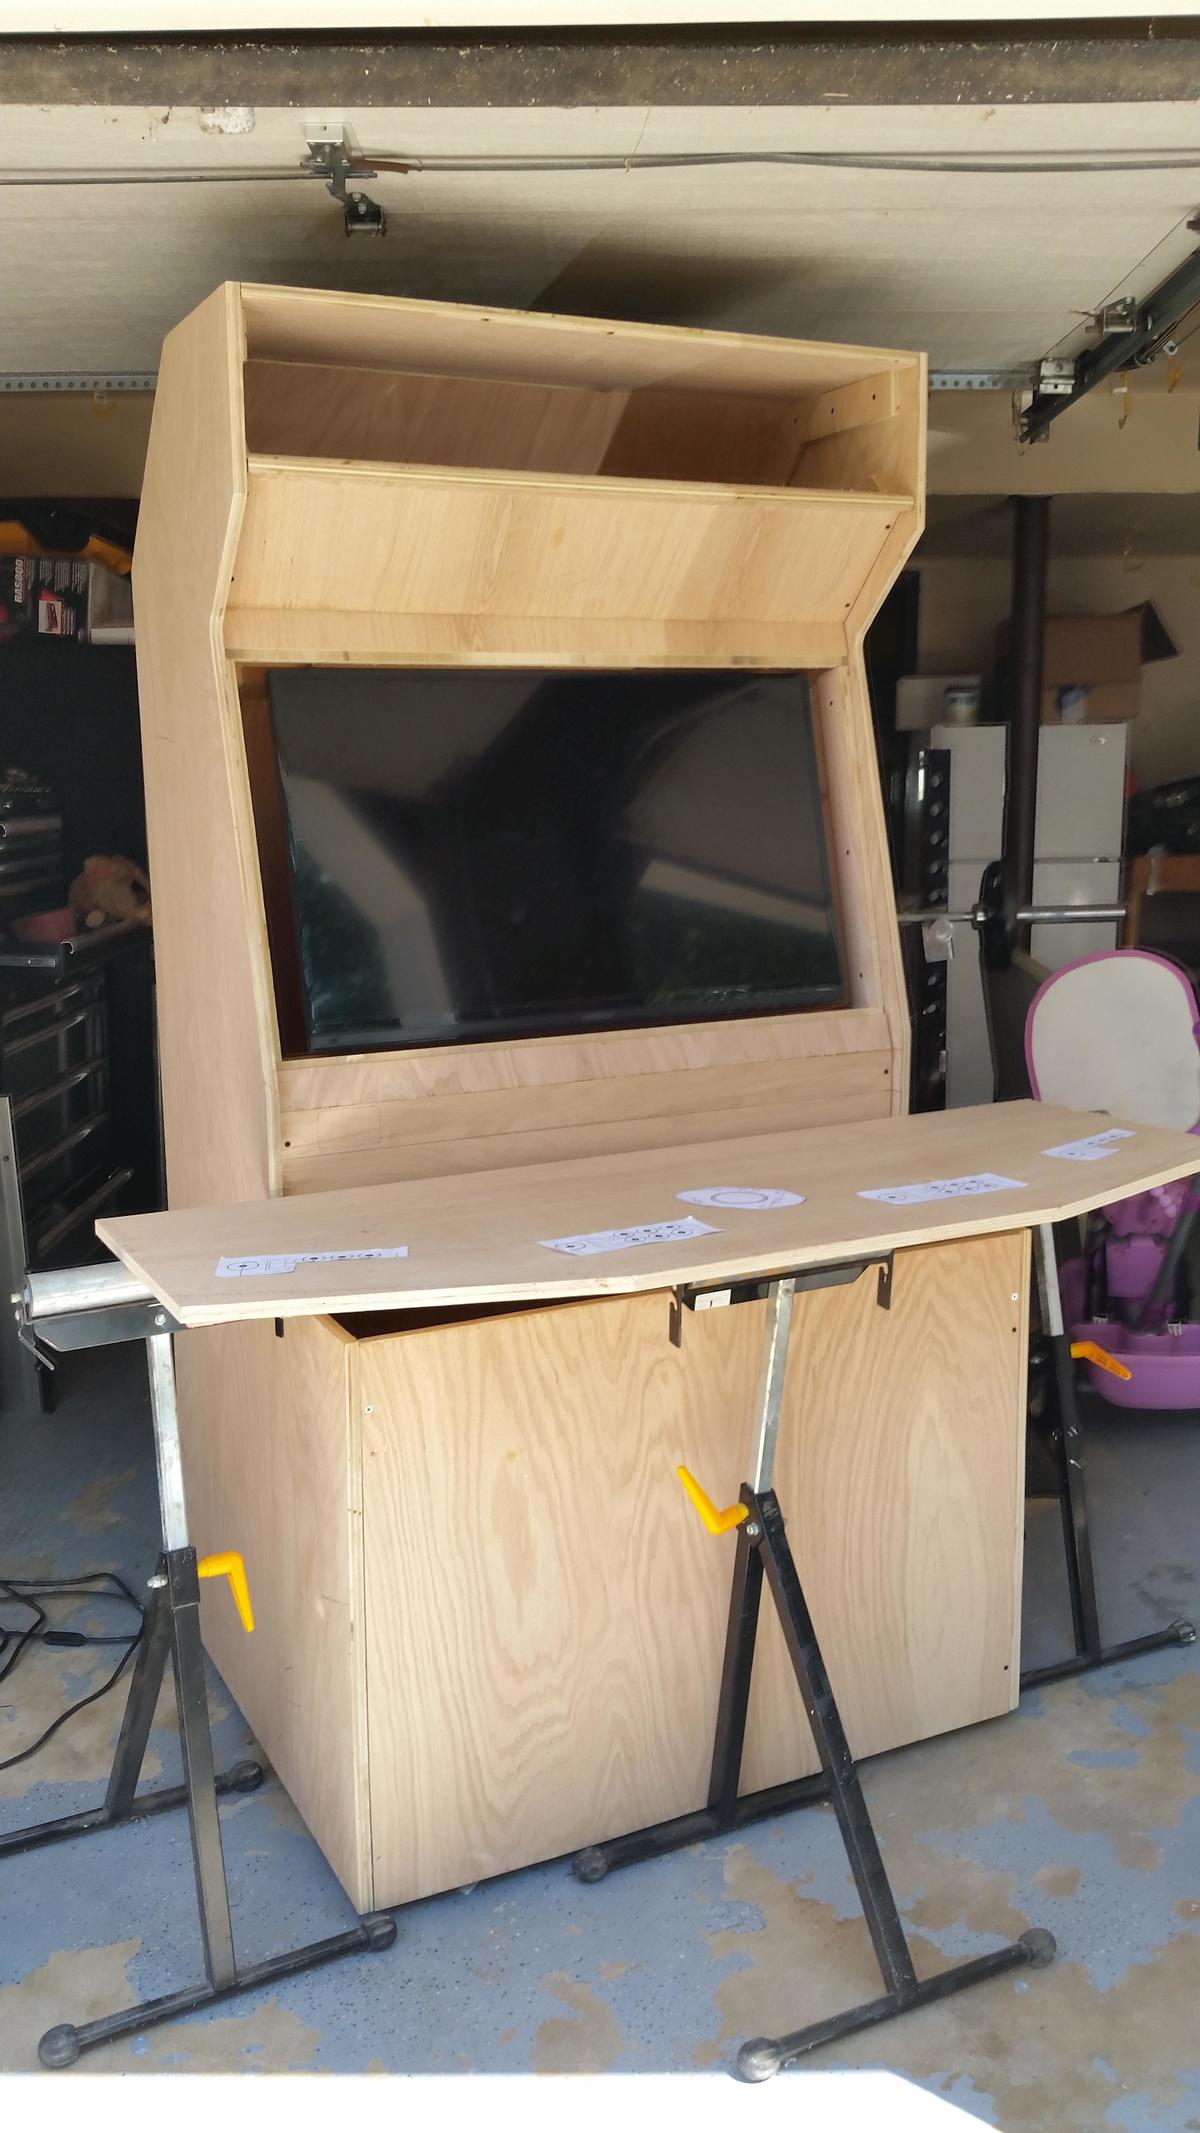
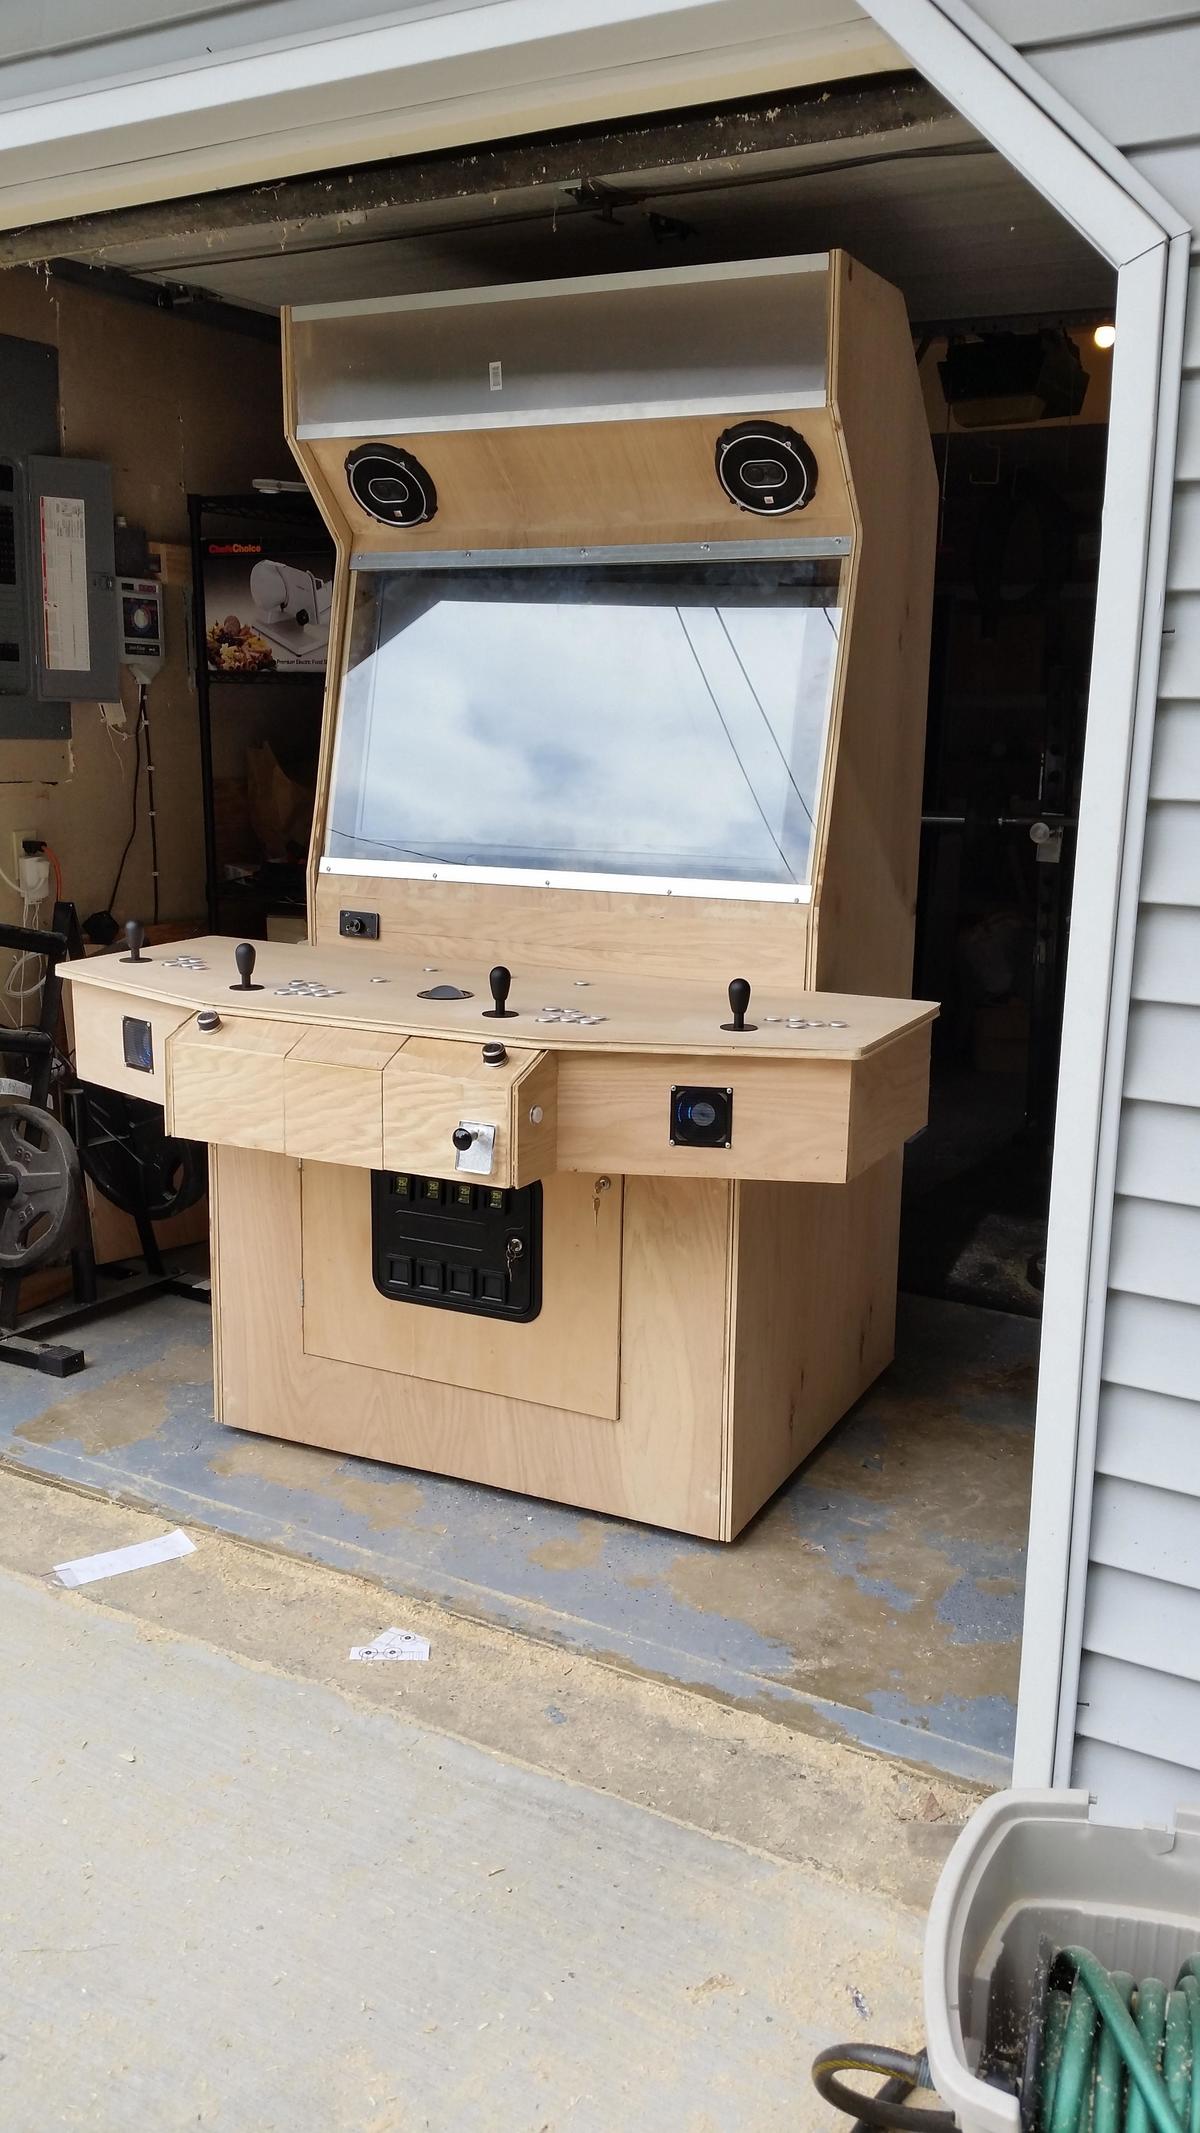
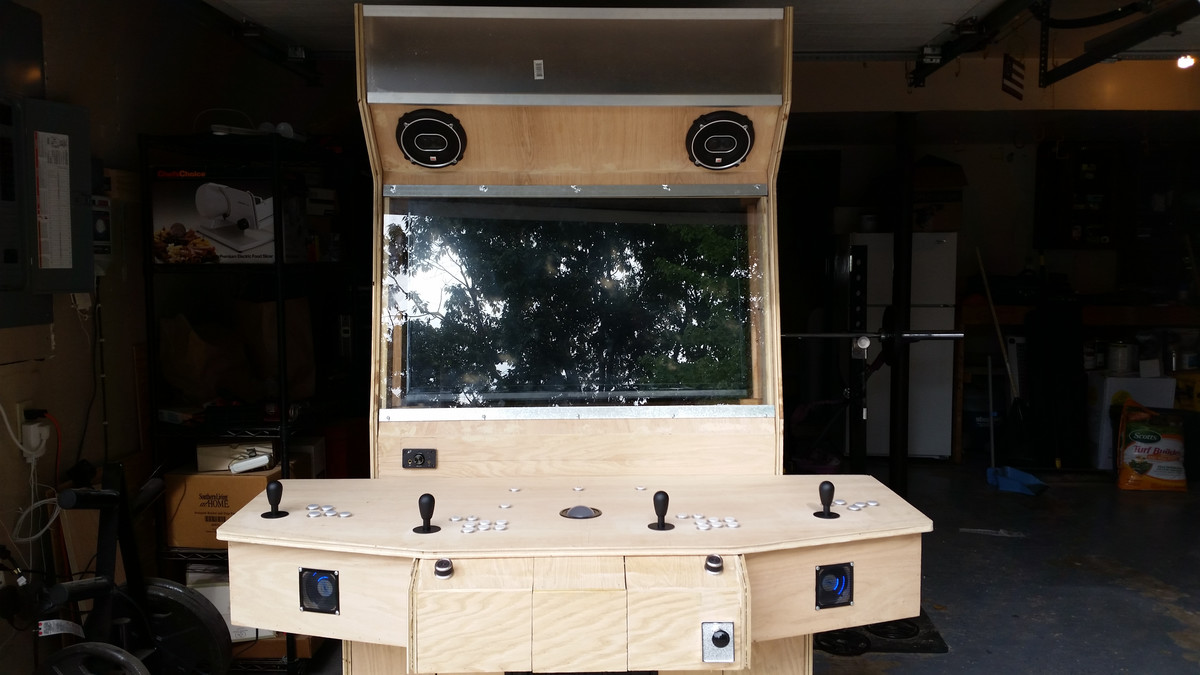
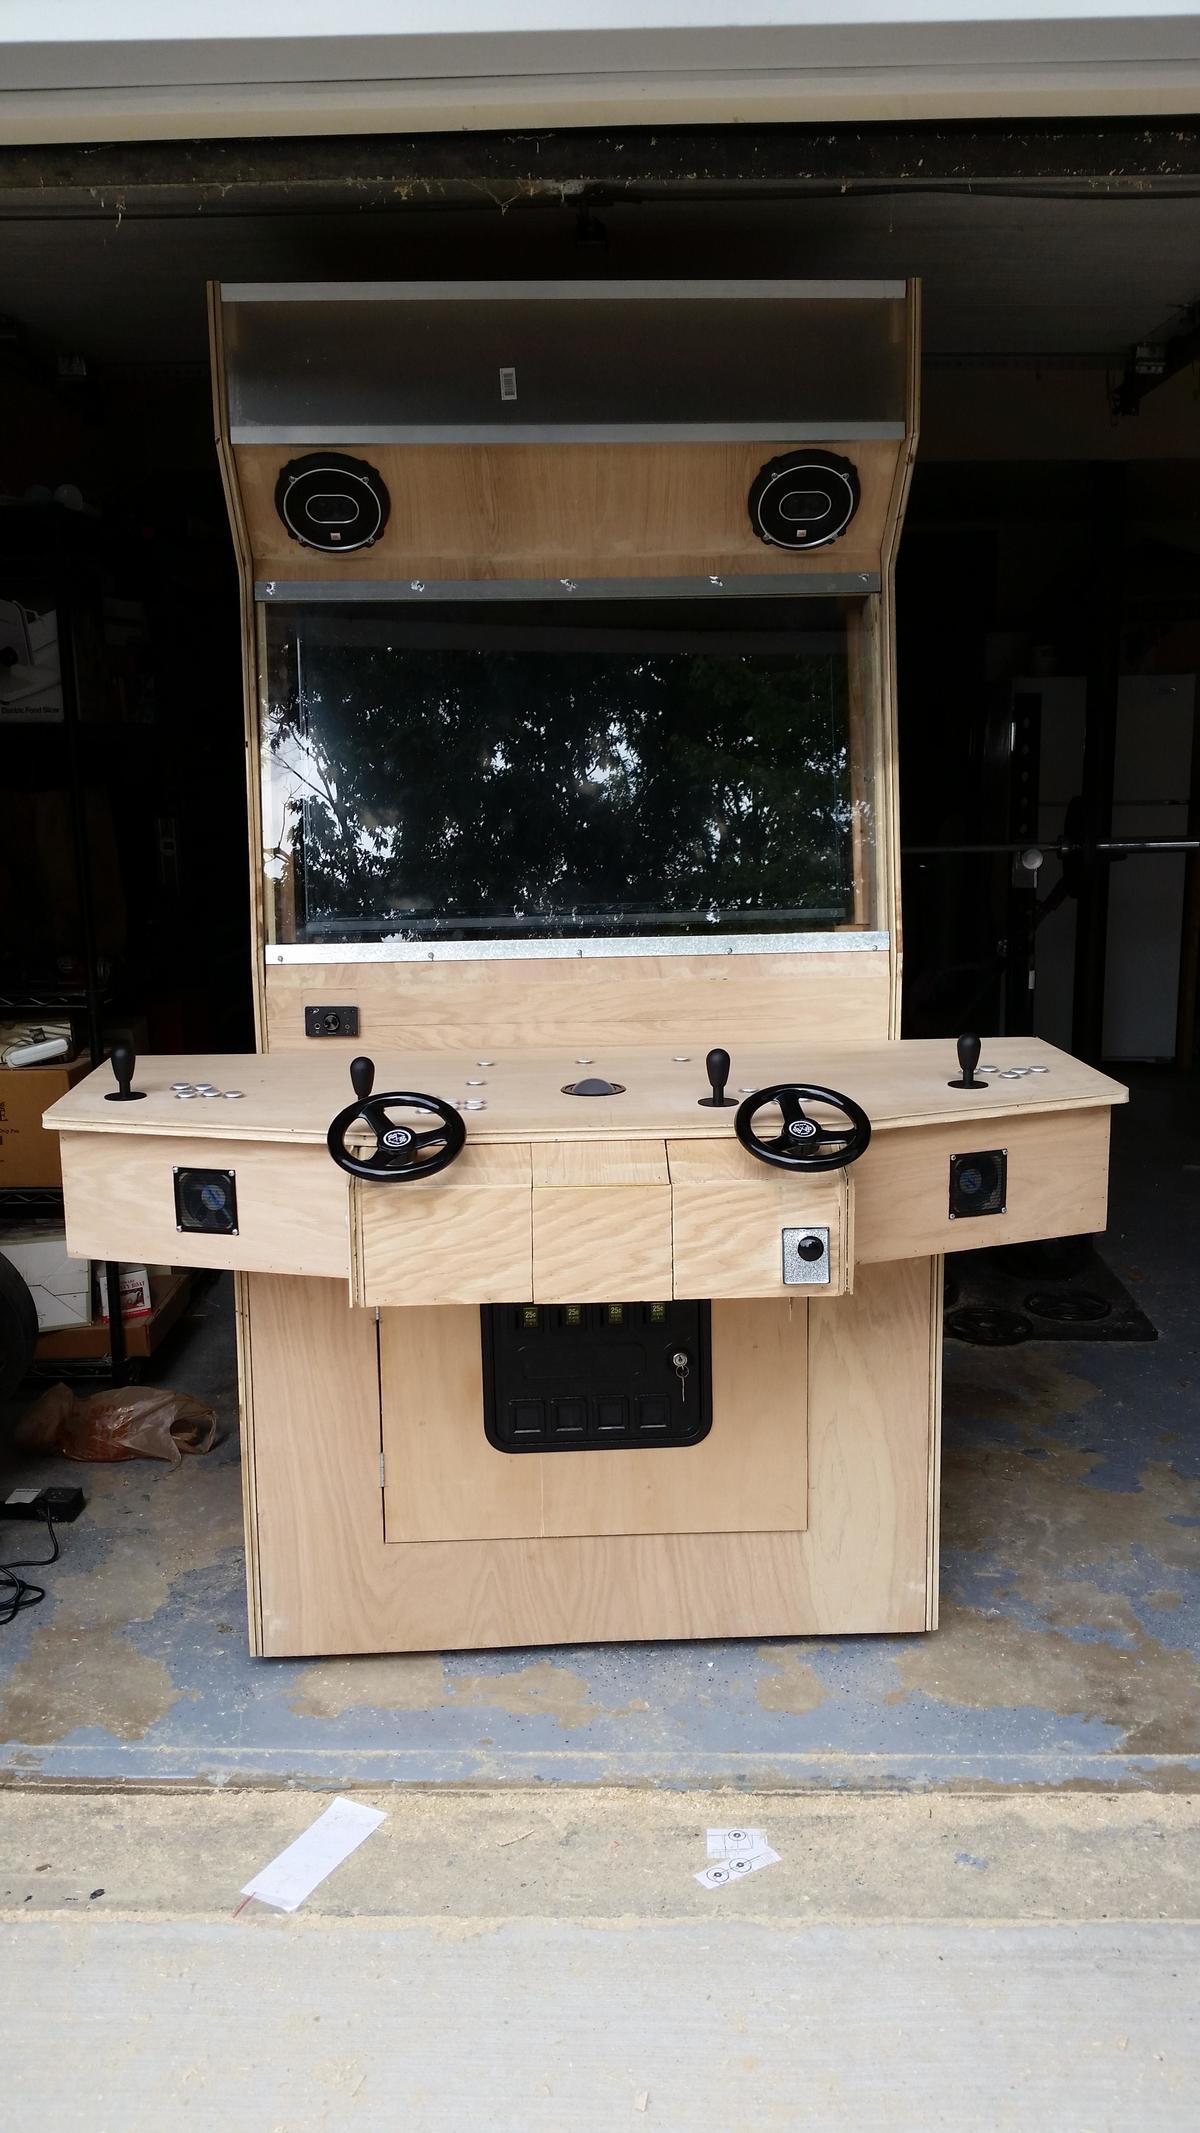
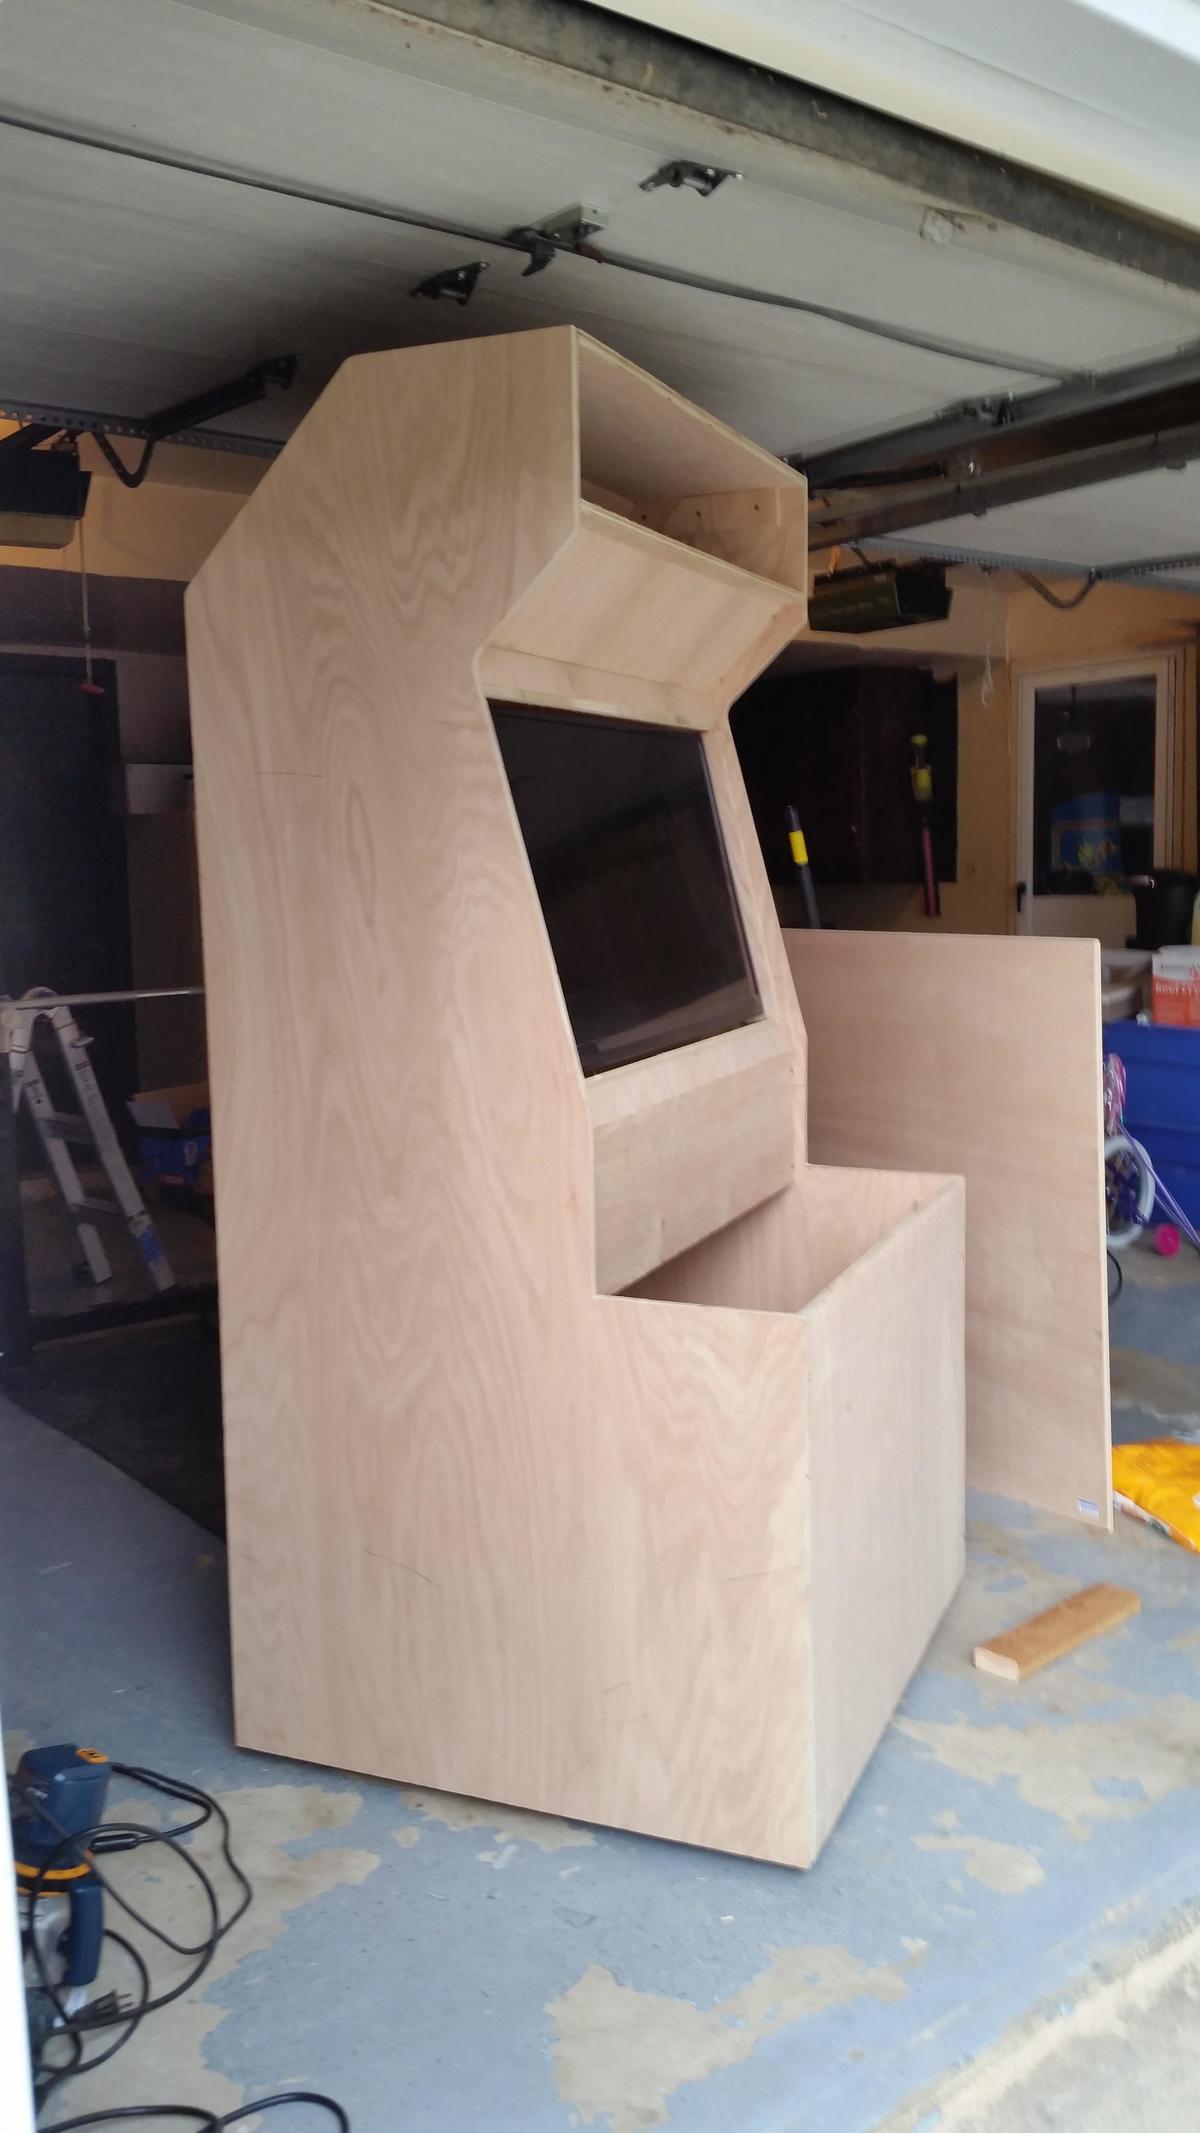 Got the basic frame together. Test fitting the TV here.
 -
 Working out the layout of the controls.
 -
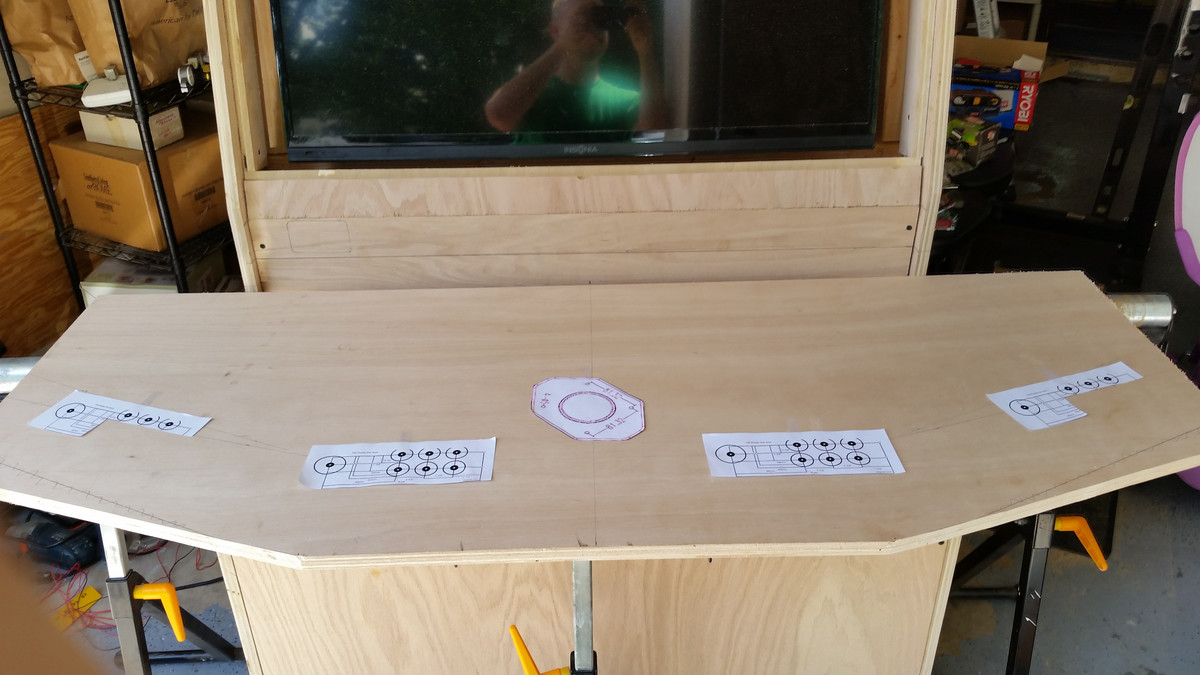
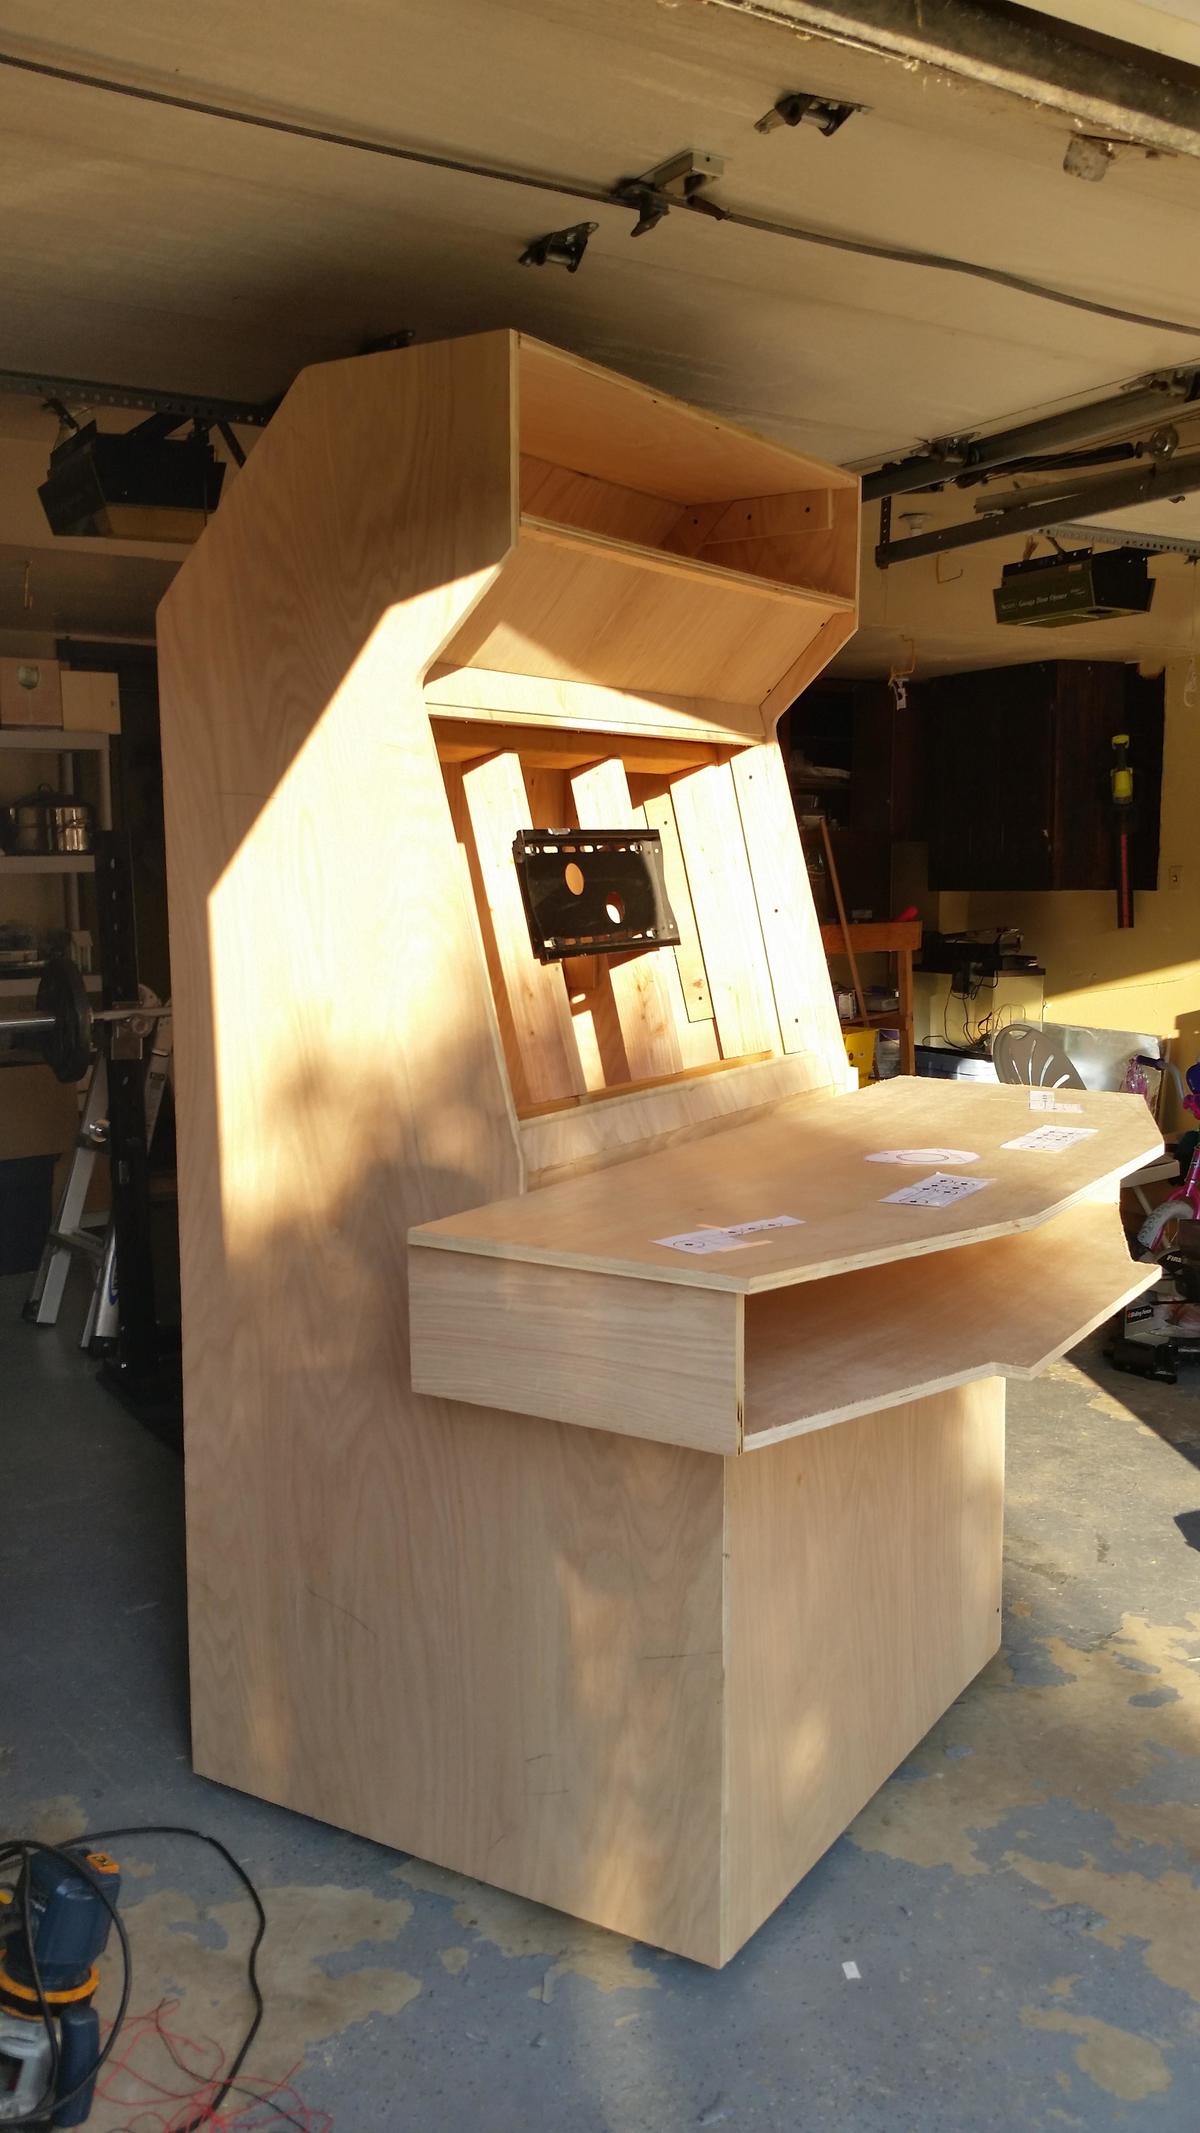
 Wider shot of the general shape of the control panel.
 -
 Building the rest of the control panel box.
 -
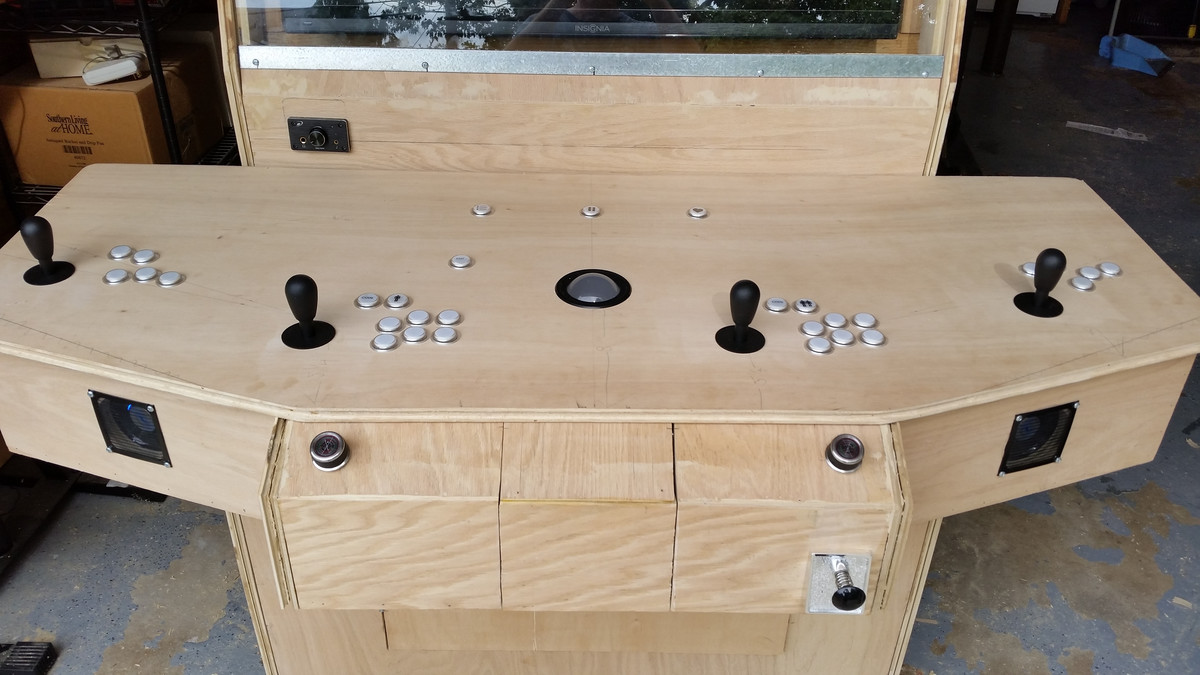 All holes drilled and controls in place. Here you can see players 1 thru 4, the track ball, 2 spinners and the pinball plunger.
 -
 Side view showing the pinball paddle button.
 -
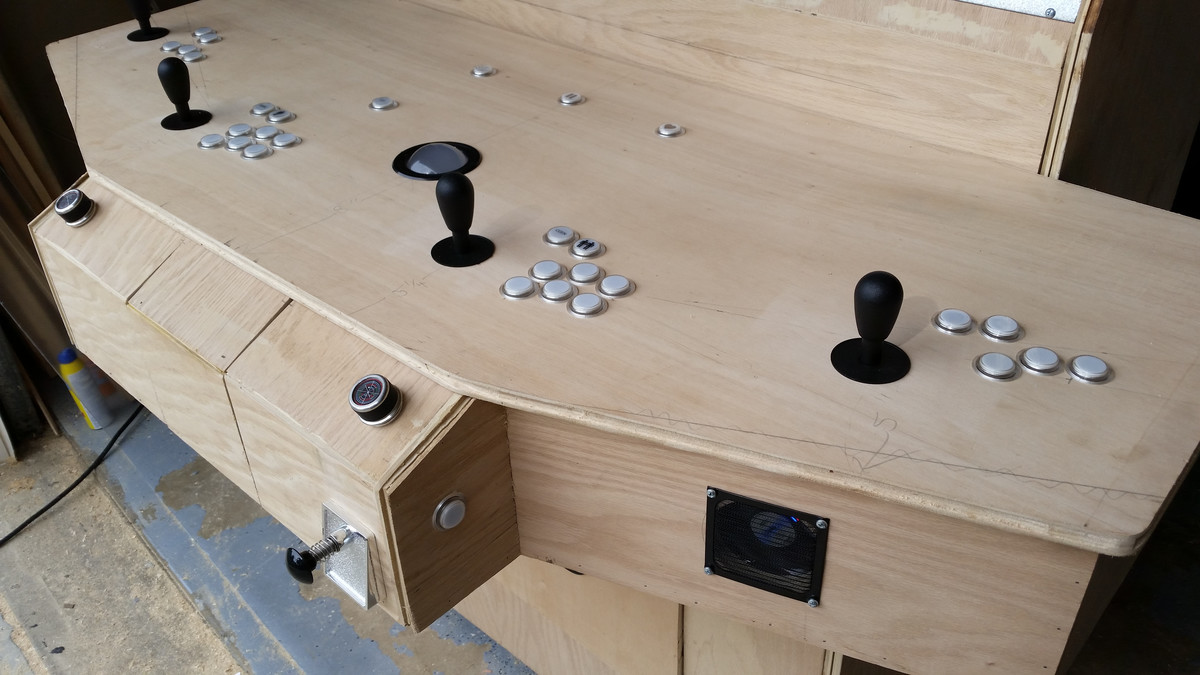
 Another angle of the control panel
 -
 Wide shot of all the hardware installed.
 -
 Closer angle showing all the hardware.
 -
 Control panel box fully assembled.
 -
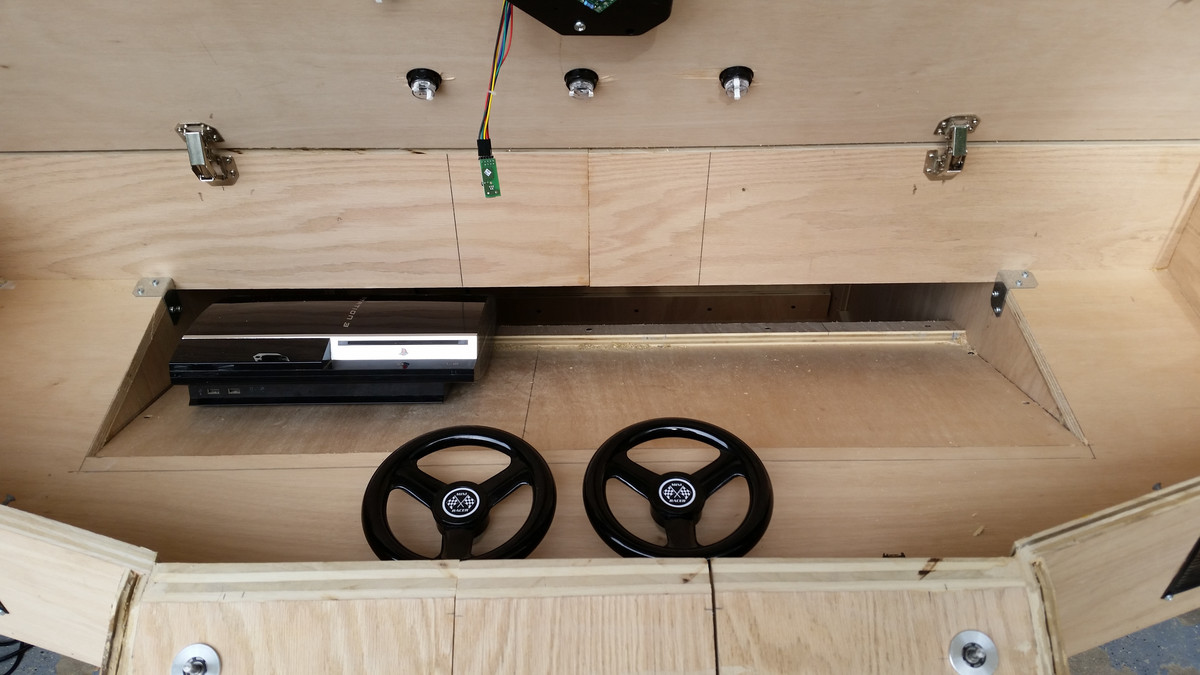 Inside the control panel box I have a couple of goodies. The slanted shelf will hold any consoles I see fit. Here I have my PS3. I also have 2 steering wheels.
 -
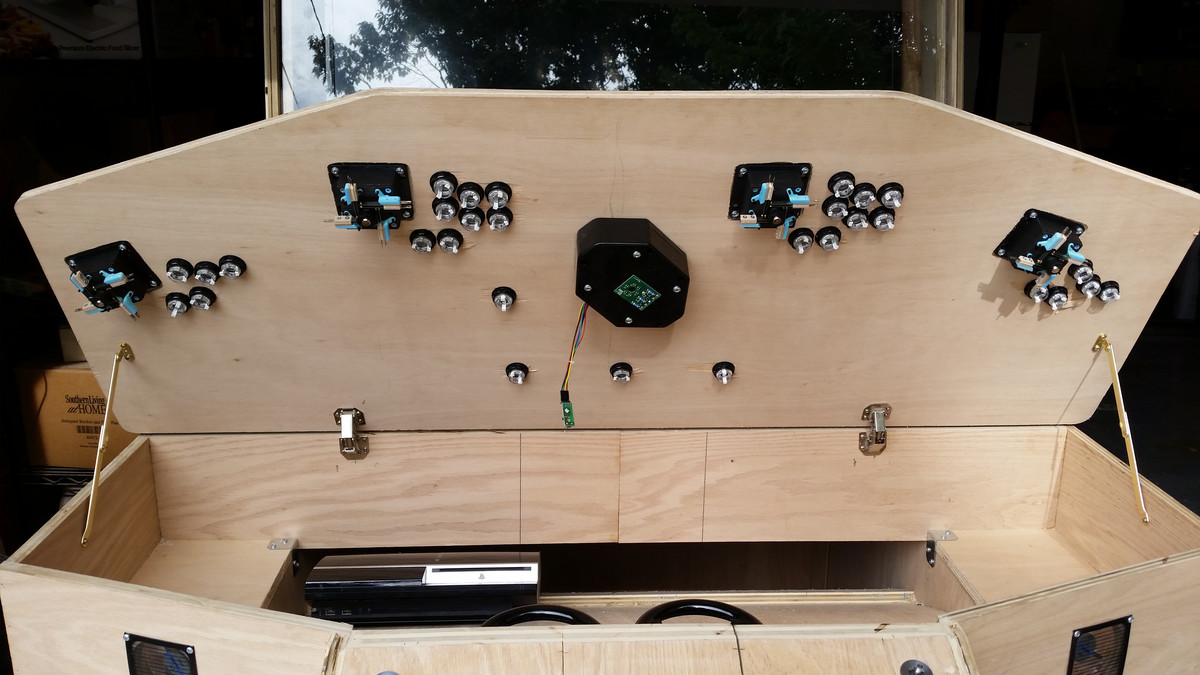 Under side of the control panel. Much wiring will need to be done.
 -
 Here you can see the the steering wheels attached to the spinner shafts. This allows me to use the spinners for games like Arkanoid and Break Out, but switch in the steering wheels for games like Out Run and Road Blaster.
 -
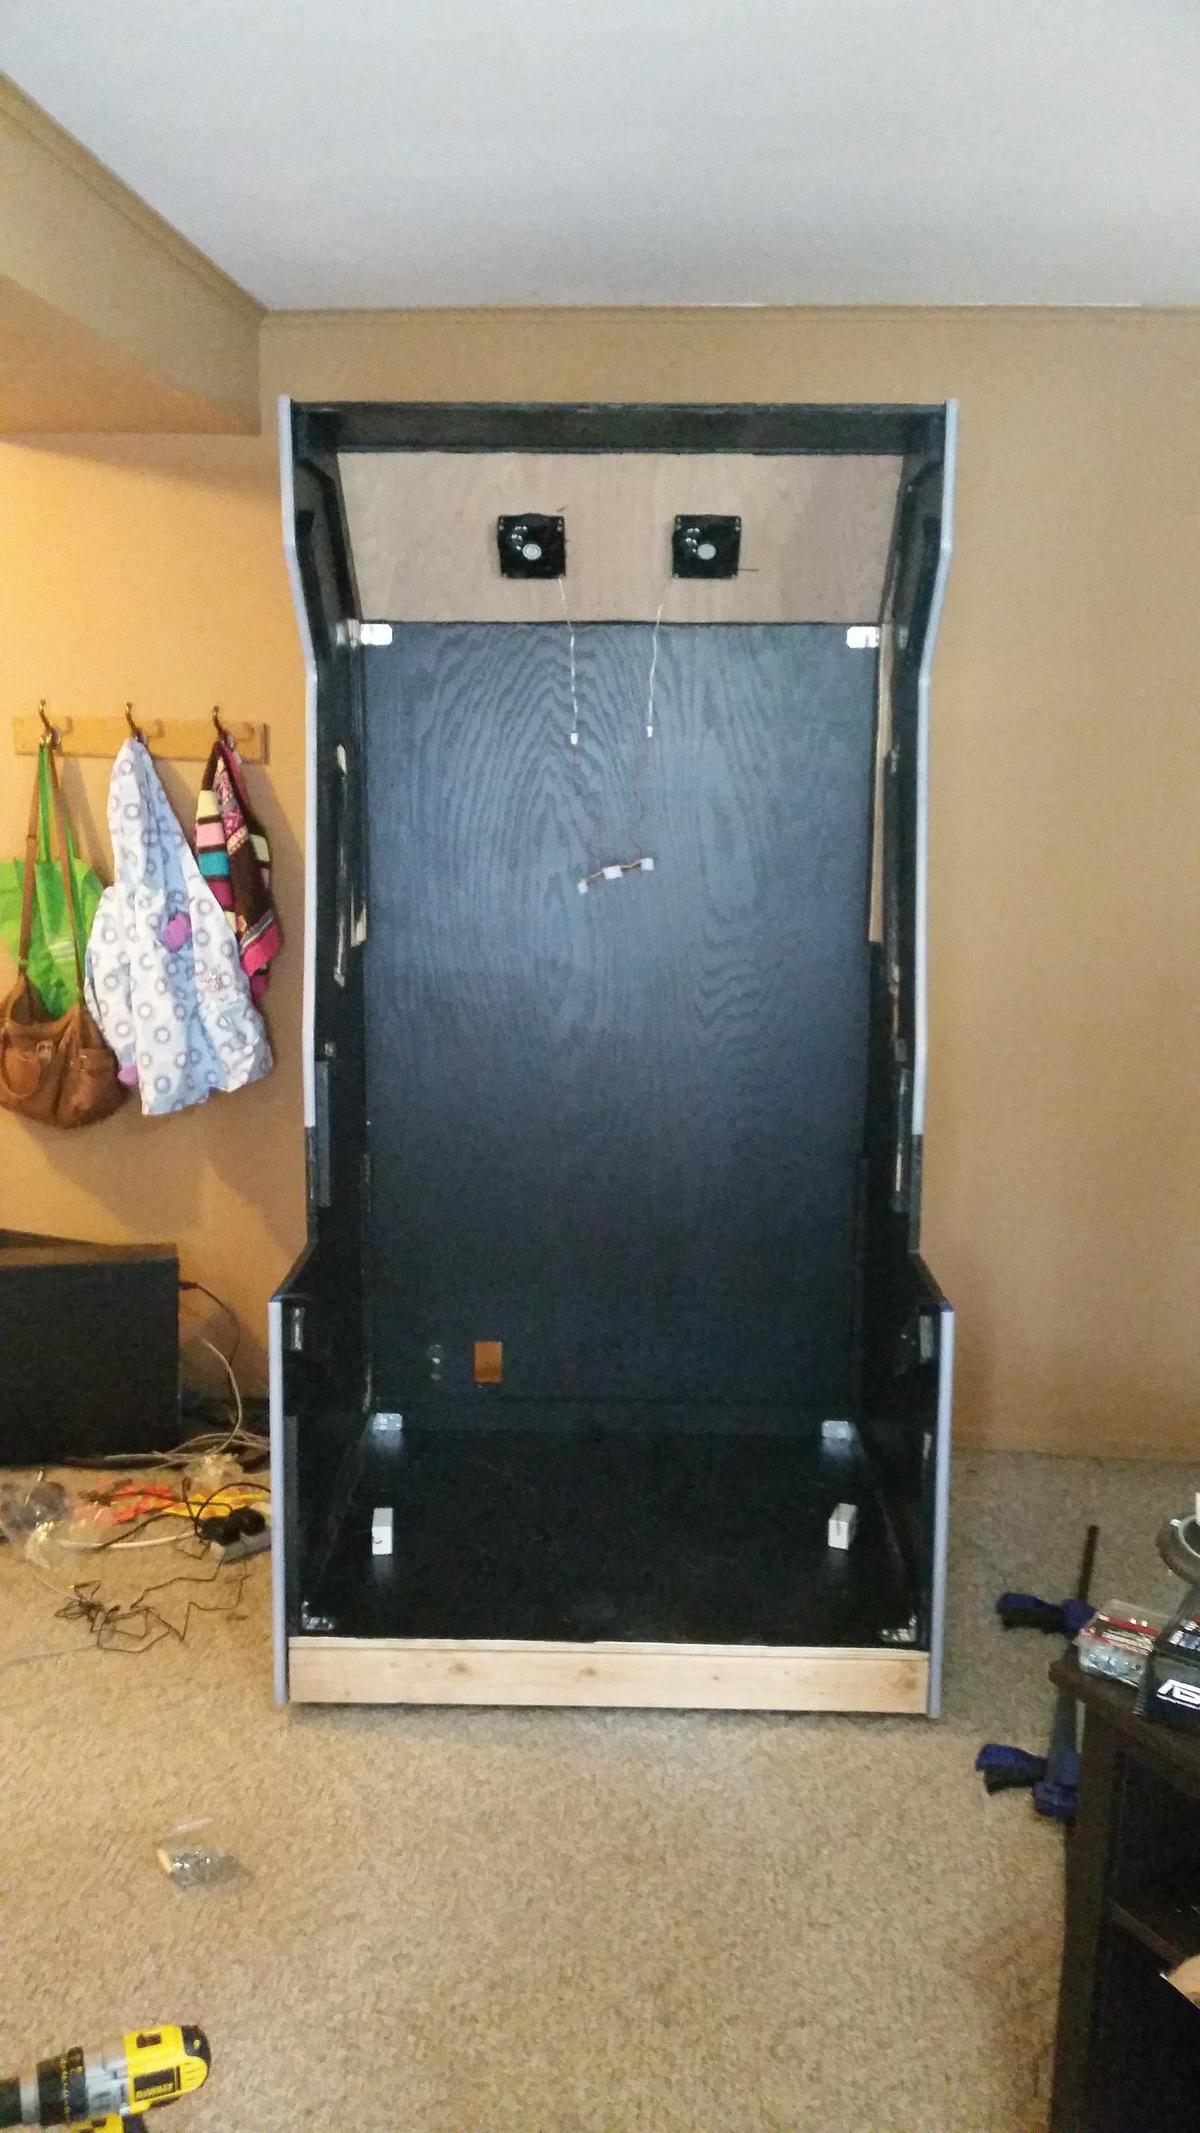
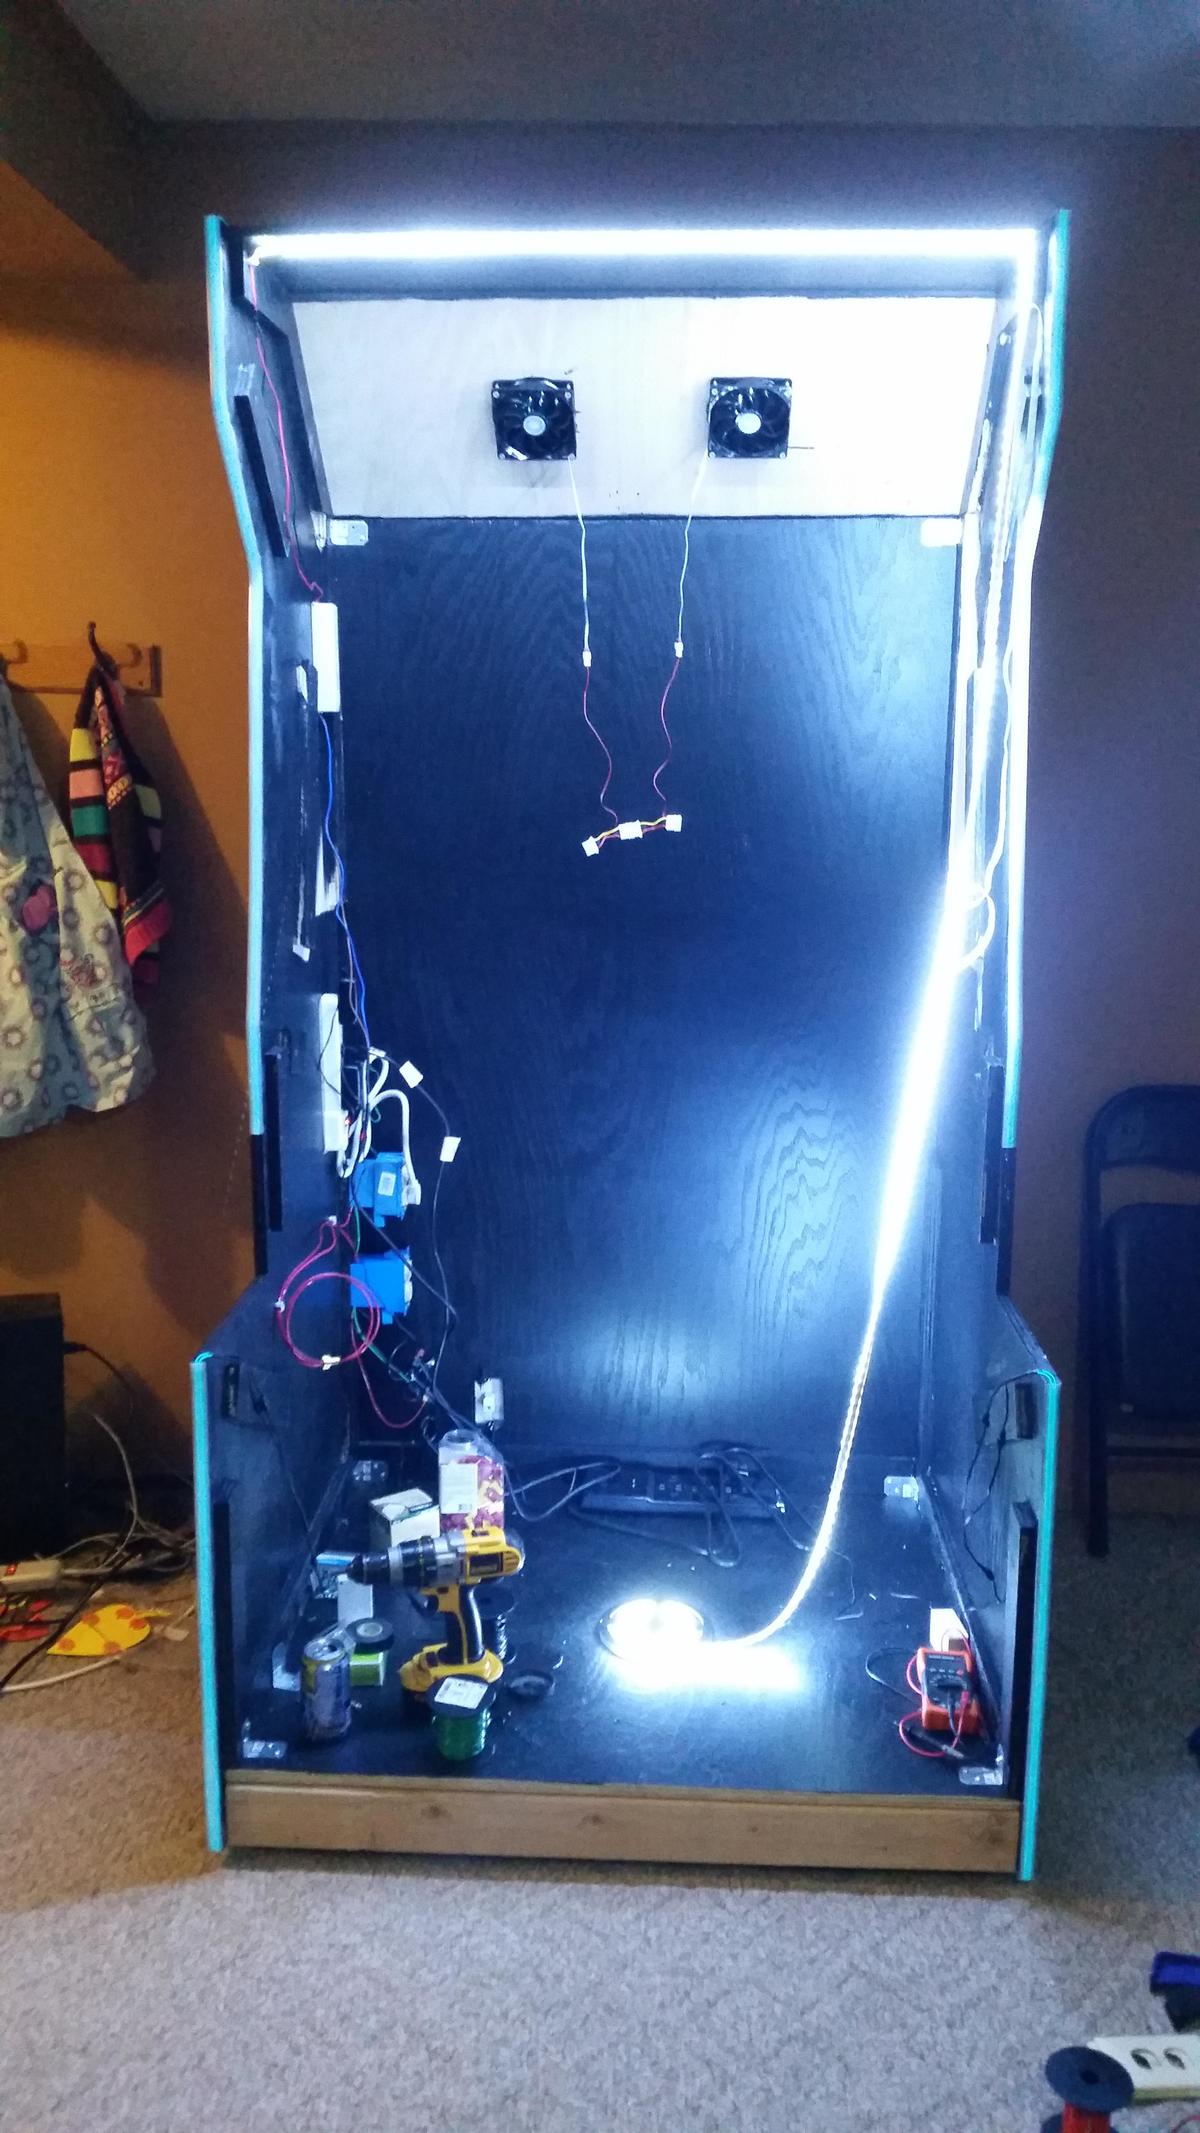
 Back side of the arcade. At the top you can see venting fans to pull the heat out of the cabinet.
 -
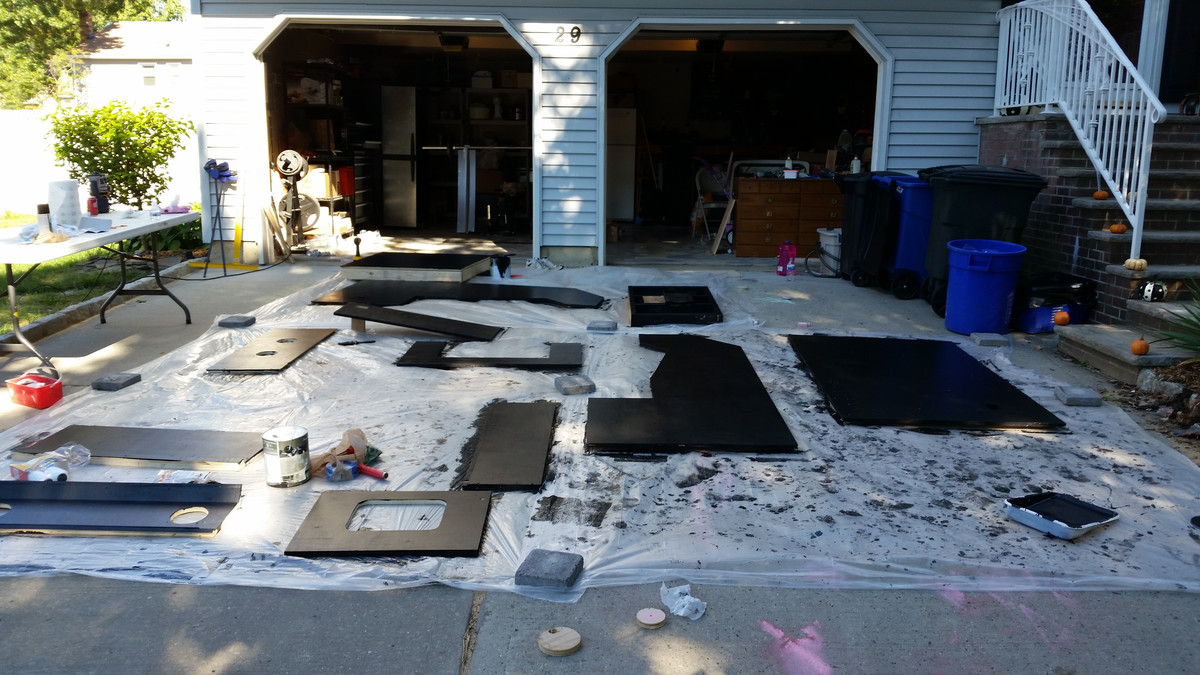 All the pieces painted up. Next up, assembly!
 -
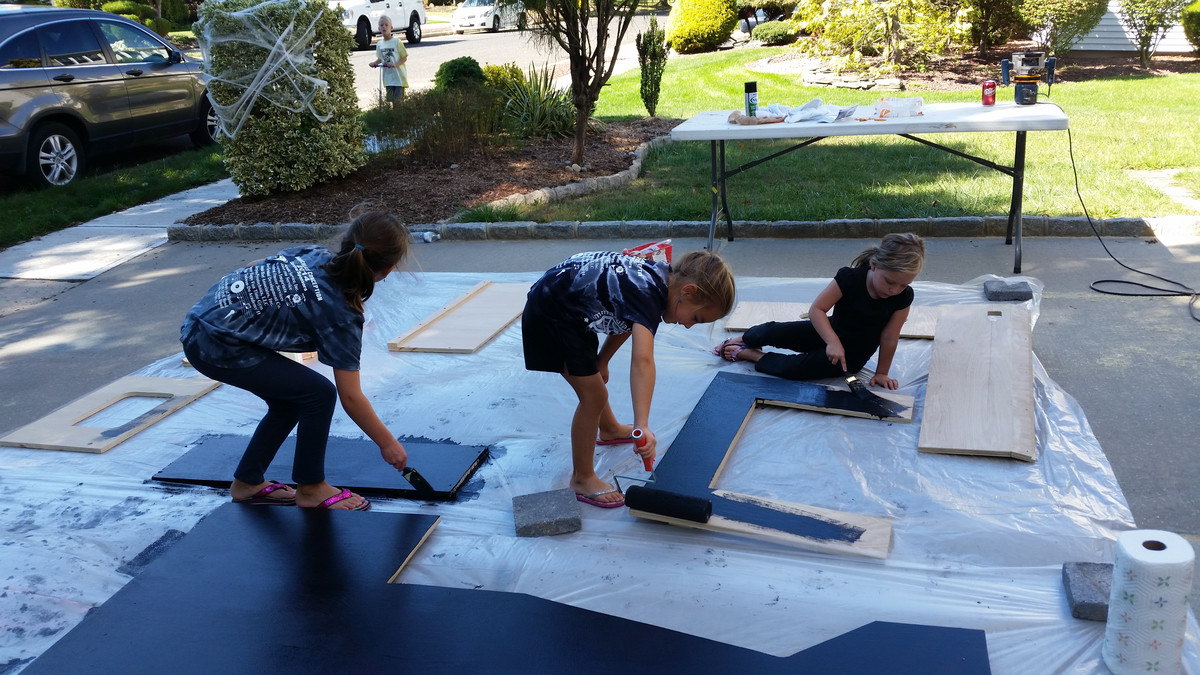 Once the build was complete it was time to paint. I enlisted the help of my daughter and her friends to make short work of it.
 -
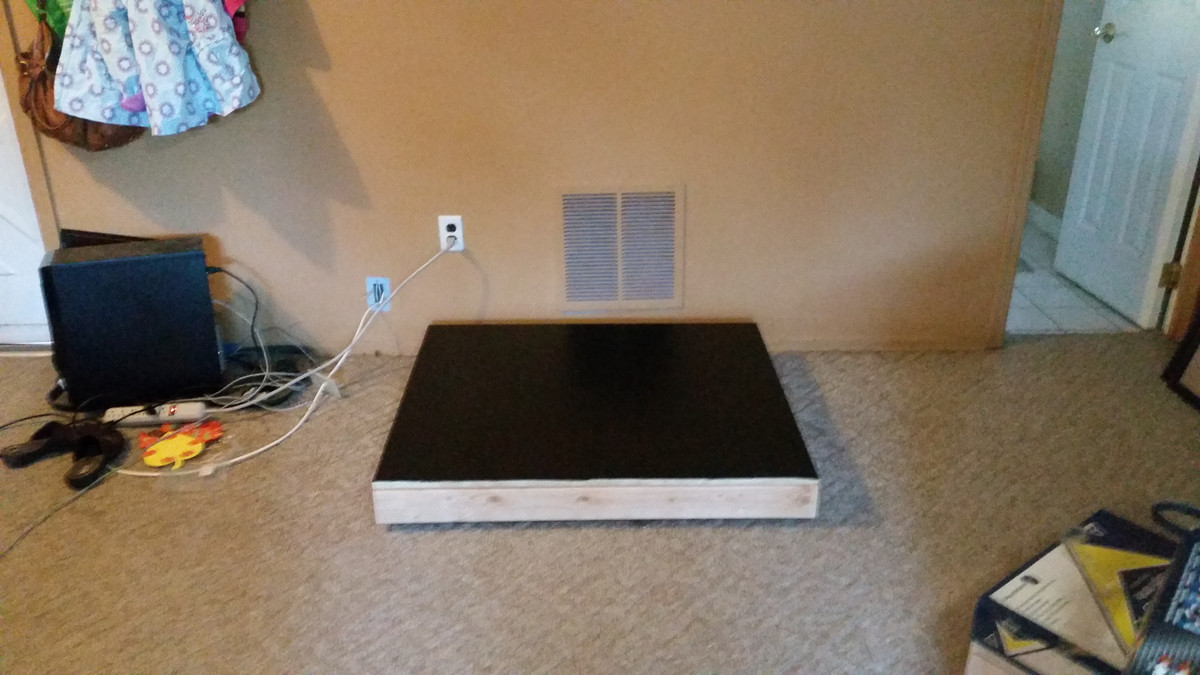 Starting with the base...
 -
 Sides, back, and top put on.
 -
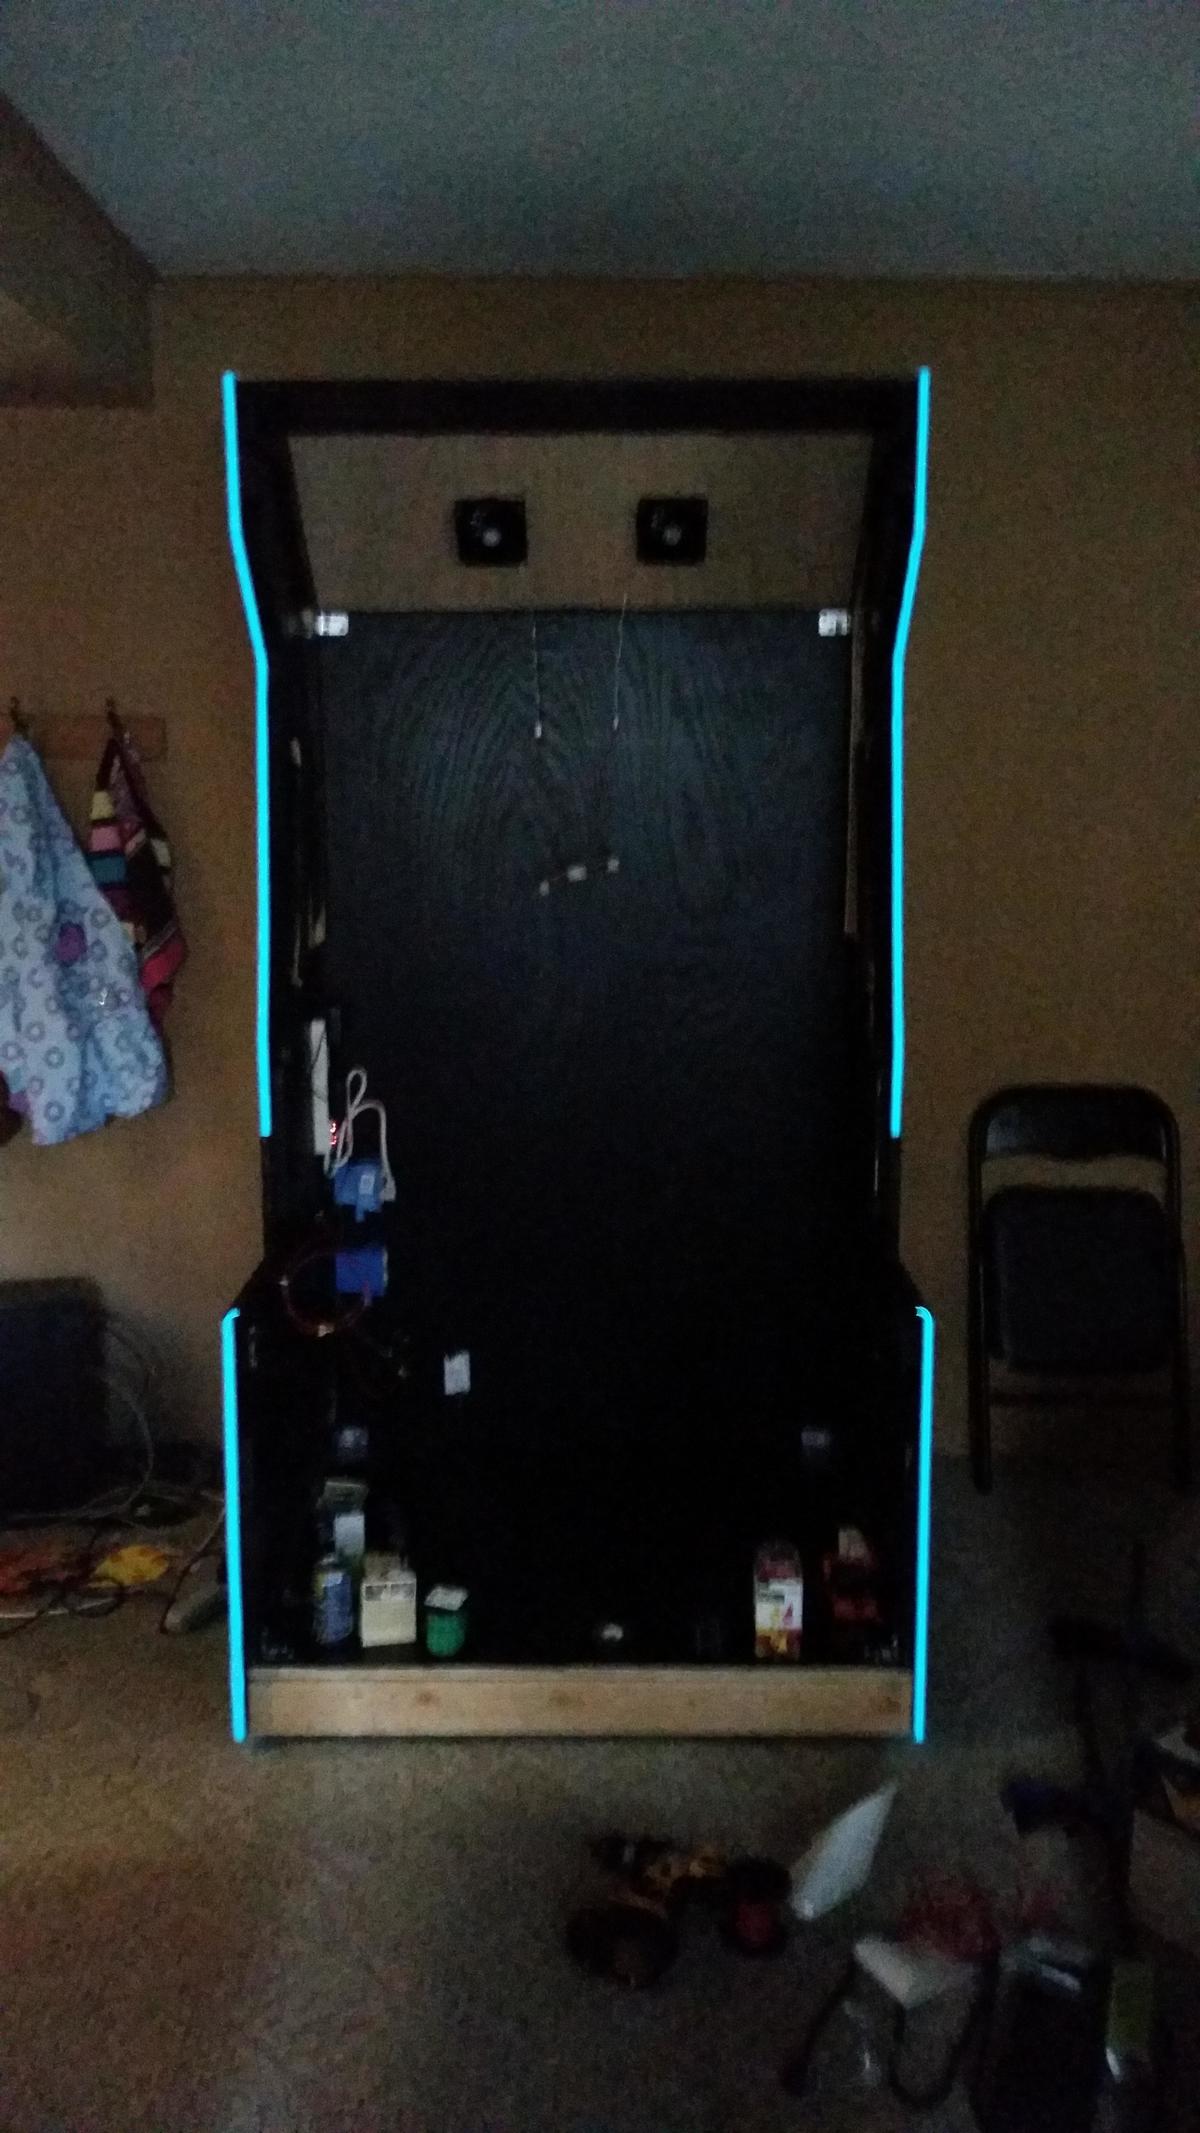 Here I'm testing the light up T-molding I made. This is translucent T-molding with EL wire behind it.
 -
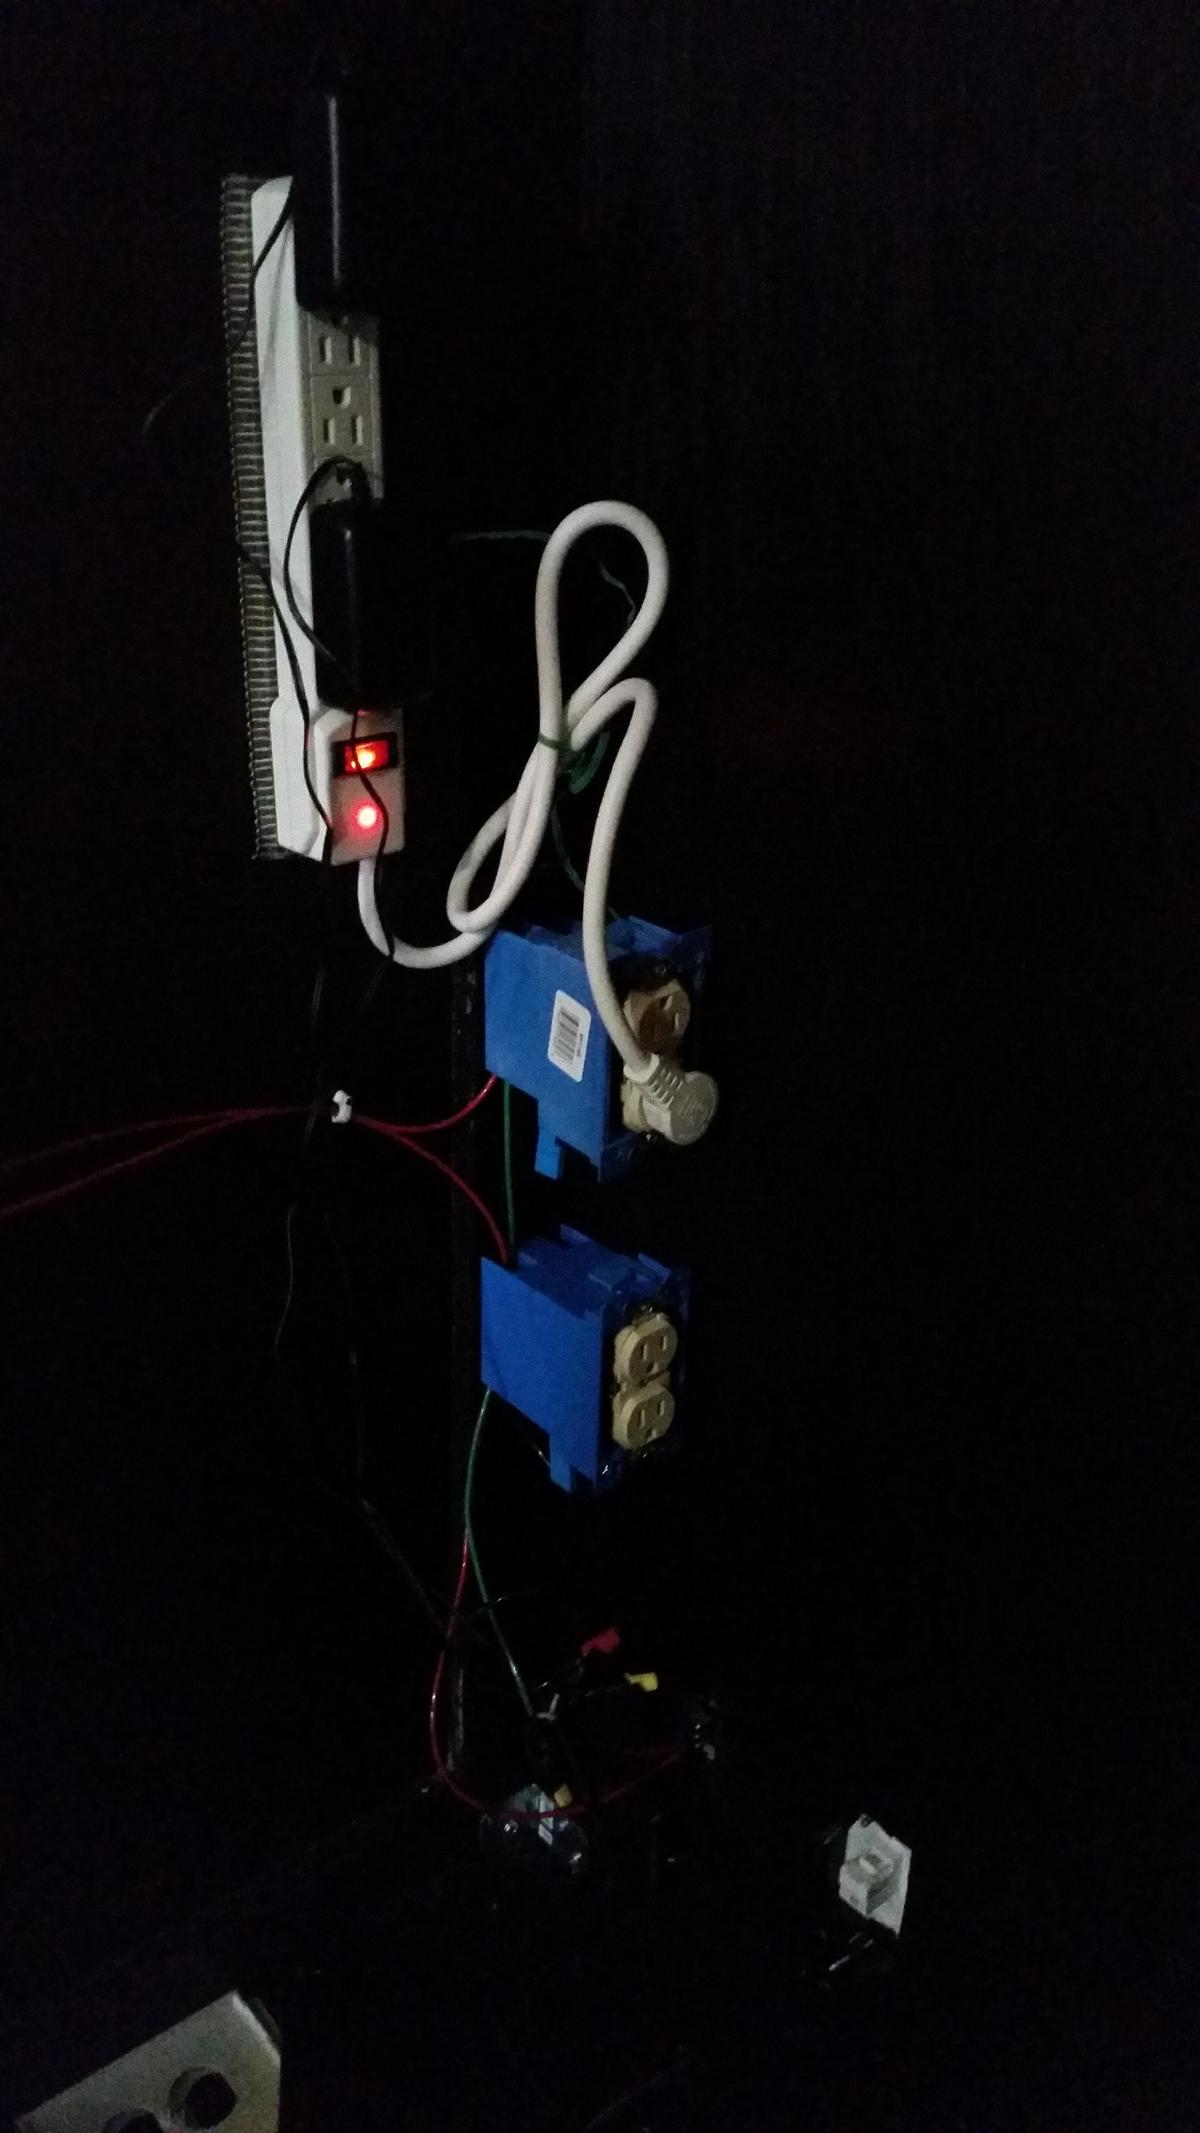 Some of the electrical inside the arcade.
 -
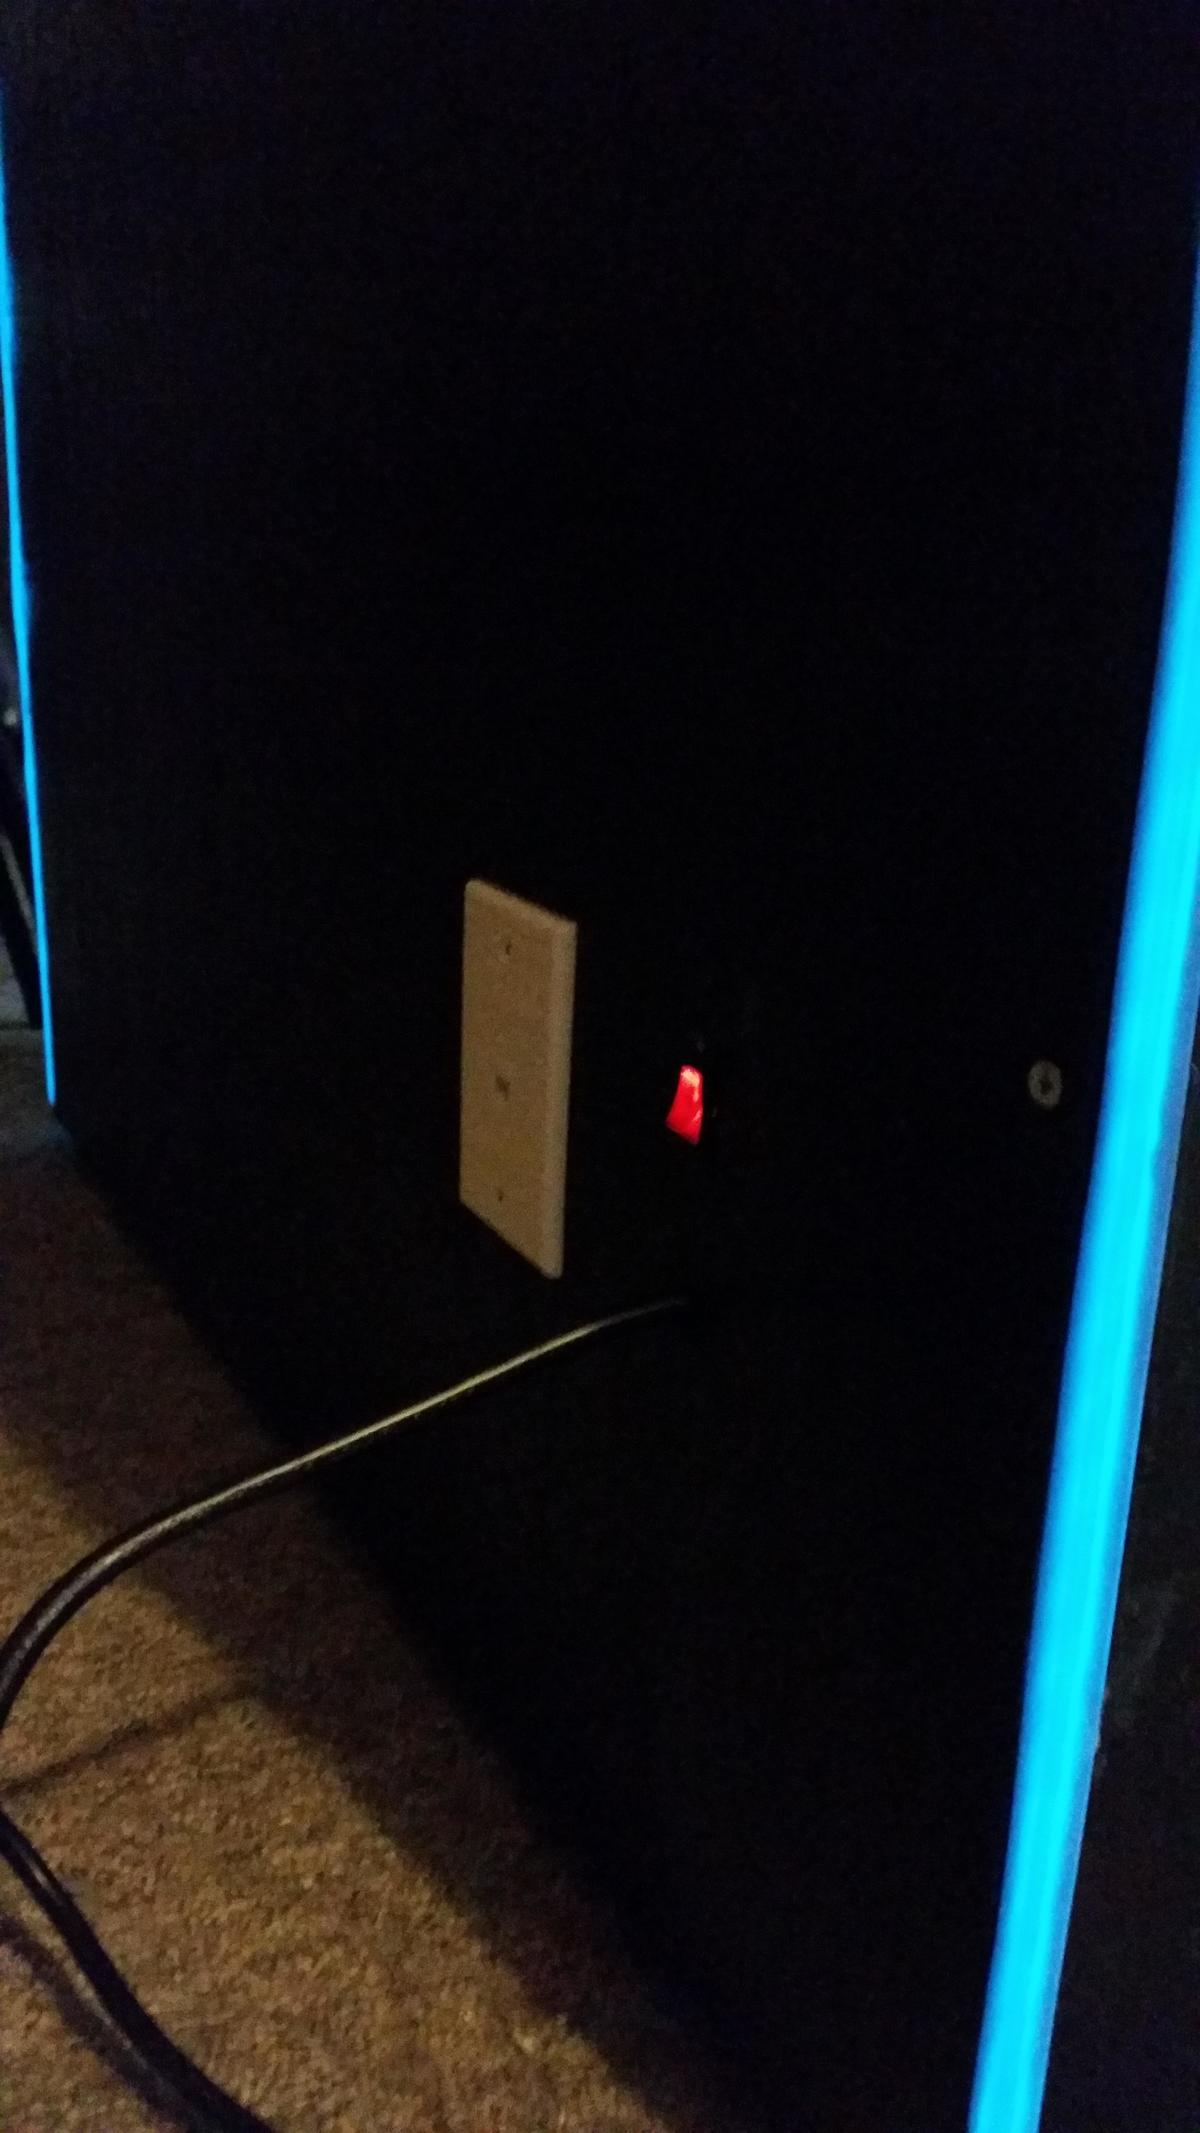 The back. A single network jack, the AC power cord, and a master power switch.
 -
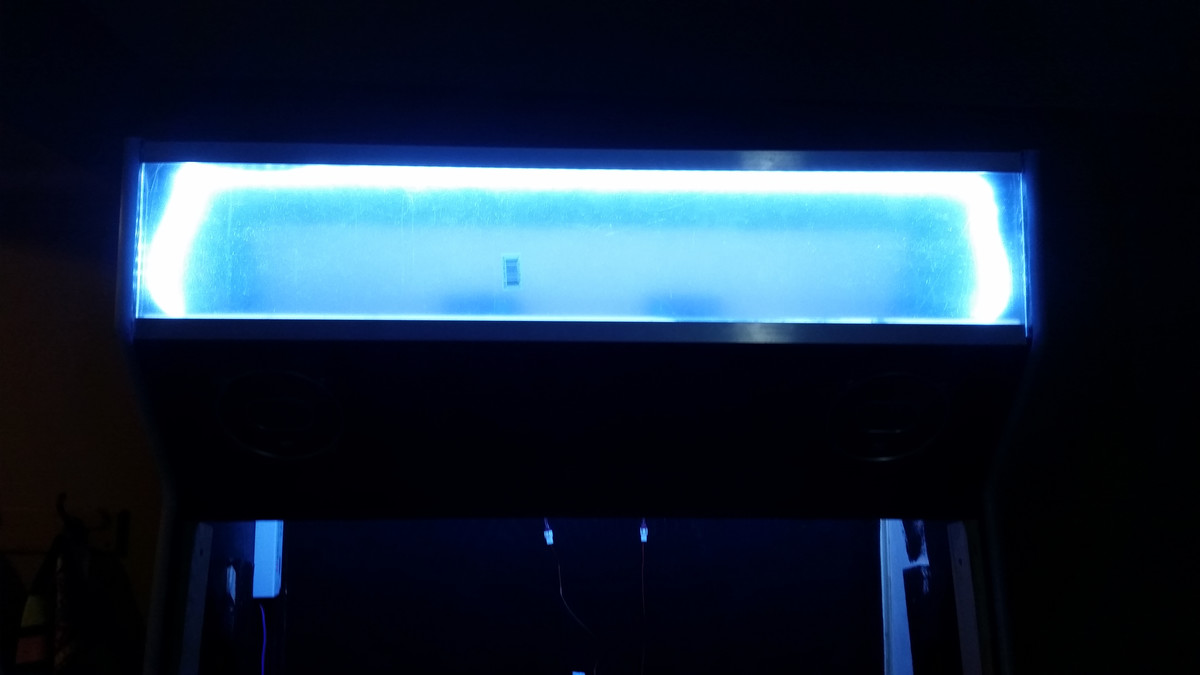
 LED lighting for the marquee. This stuff is super bright!
 -
 LED lighting attached and plexiglass in place. Waiting on the marquee from the printer.
 -
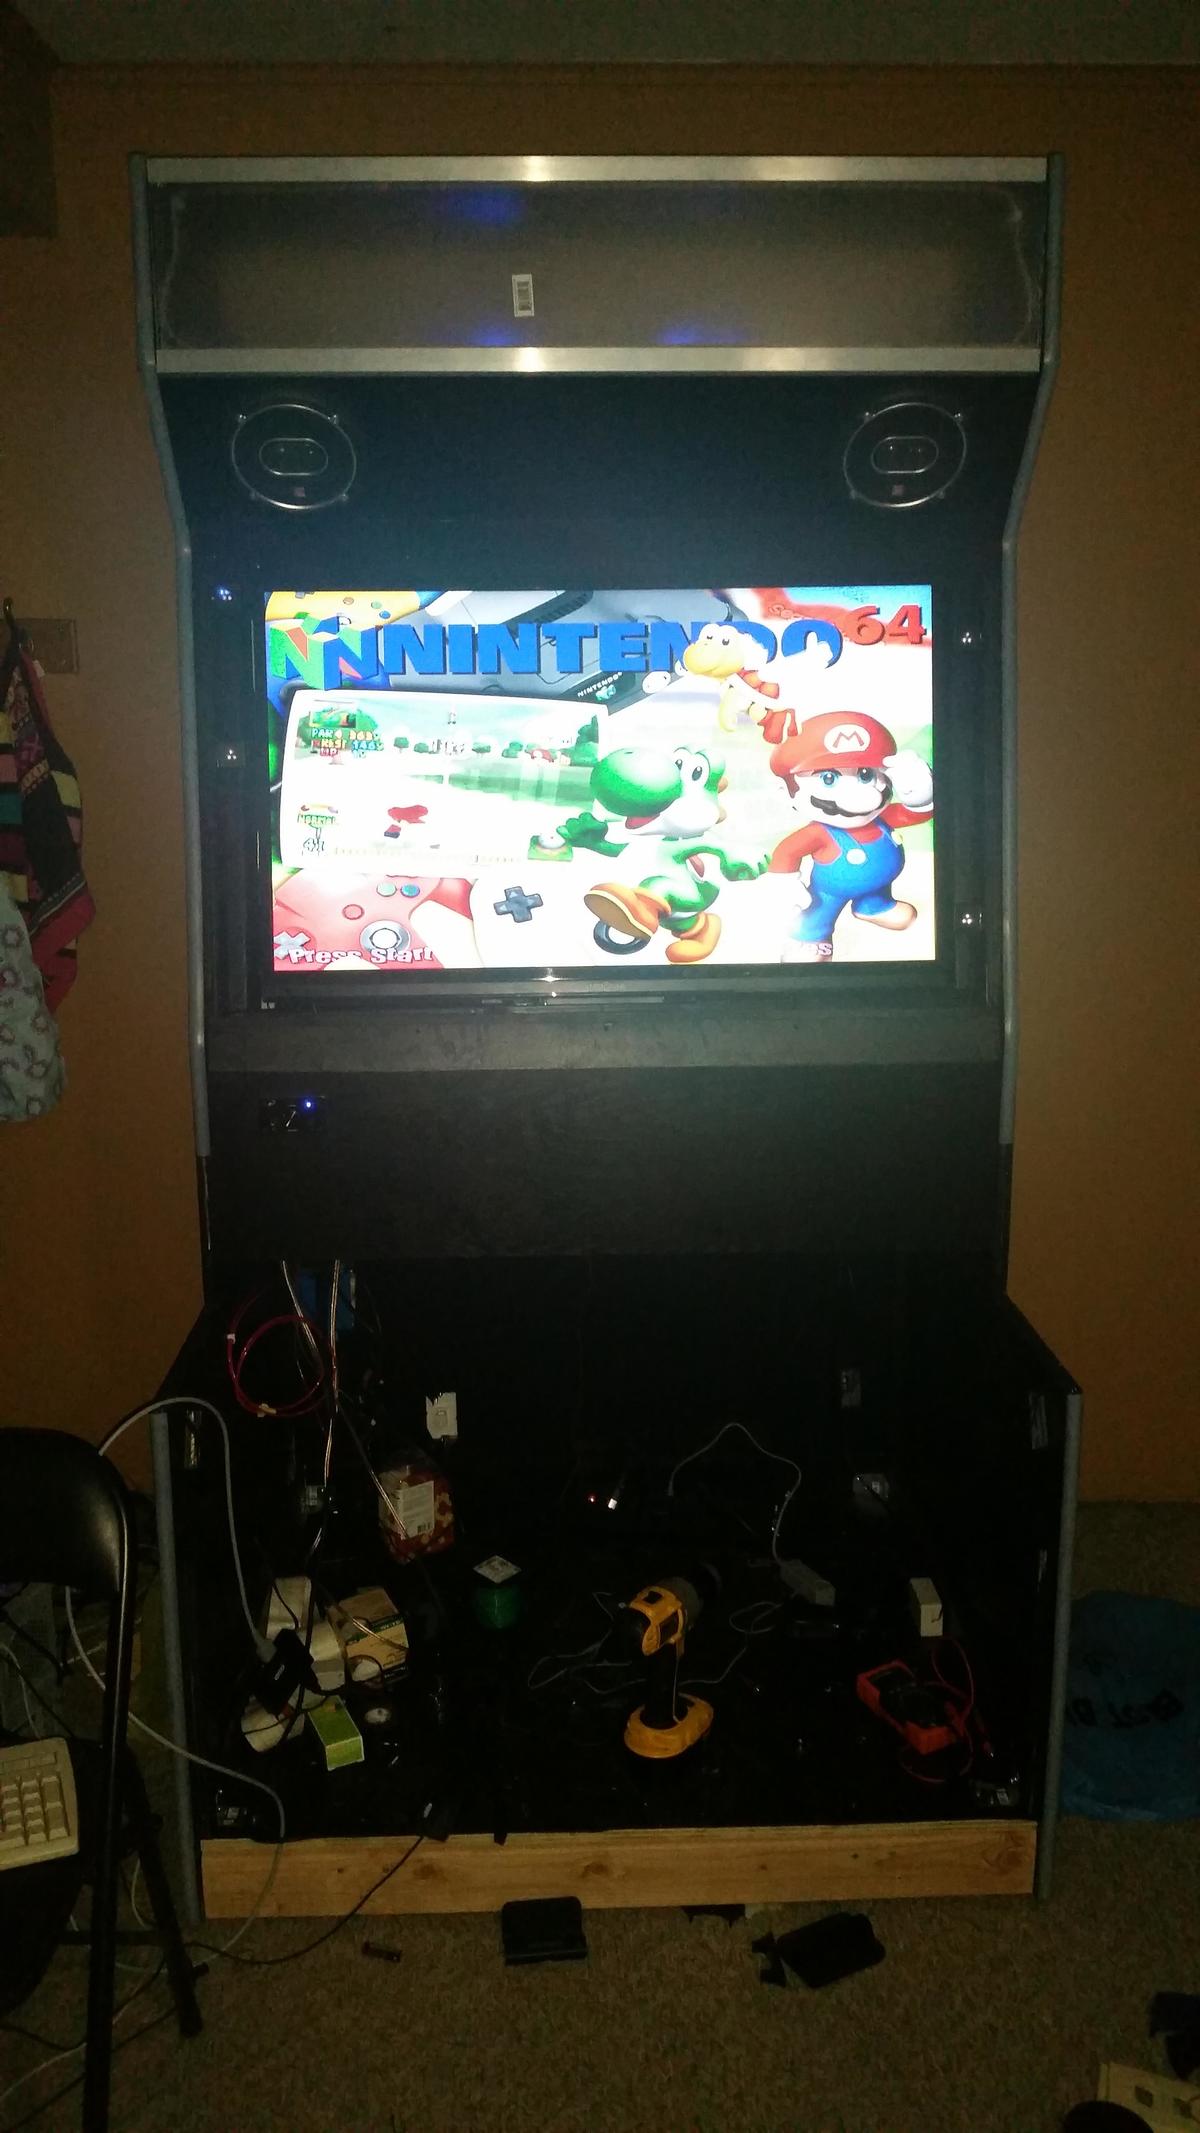 Time for a quick test! Connections look good. Hyperspin fires up. So far, so good.
 -
 Now on to the control panel.
 -
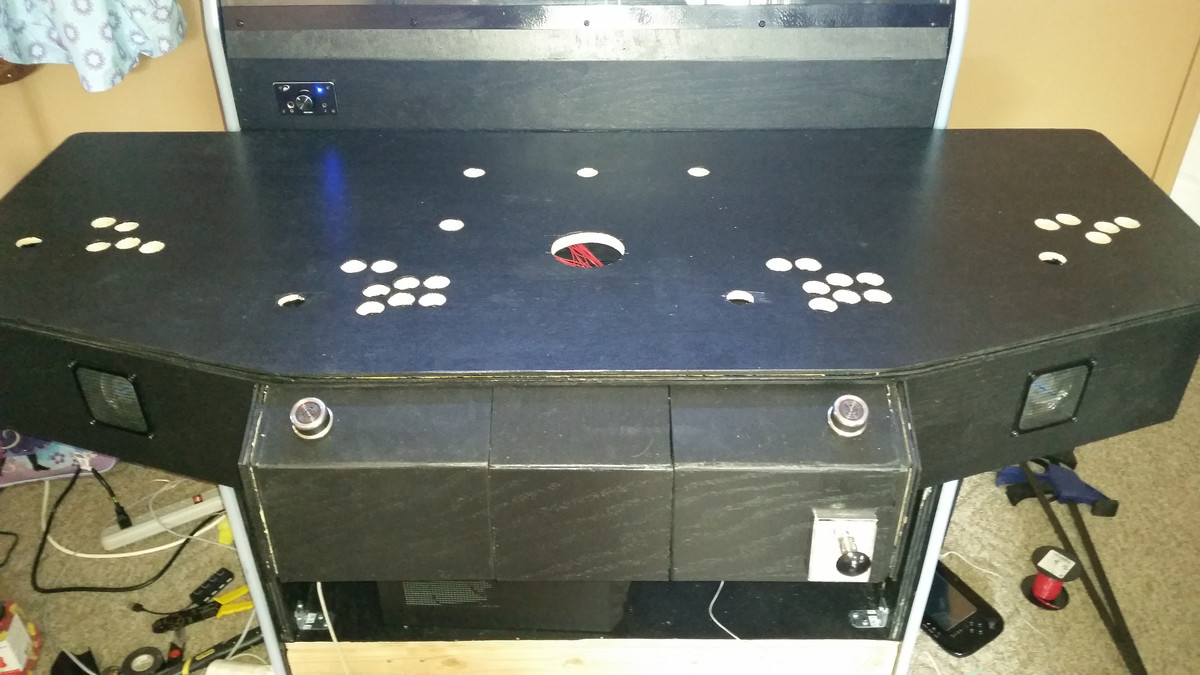
 Got all the controls installed (but not wired). Still waiting on the marquee...
 -
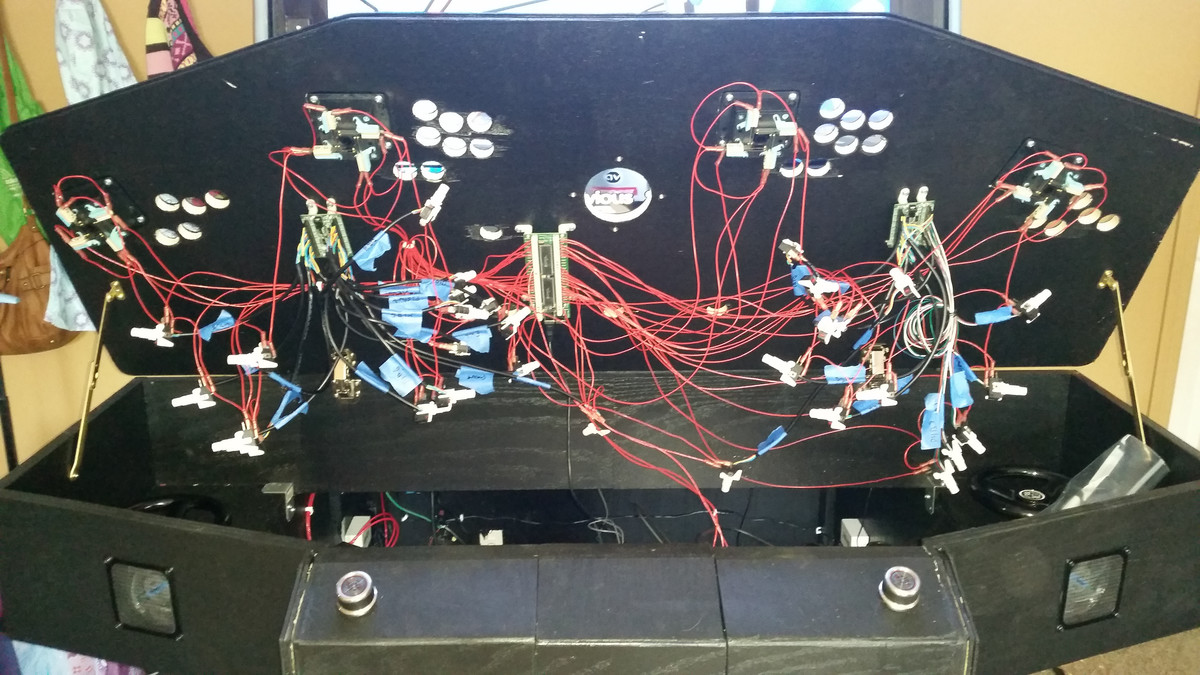 Starting the rats nest of wire connections. All the buttons and joysticks are just acting as momentary push buttons. There is a single common ground that has to connect to every single button (4 per joystick). Then an individual positive wire for every button (also 4 per joystick).
 -
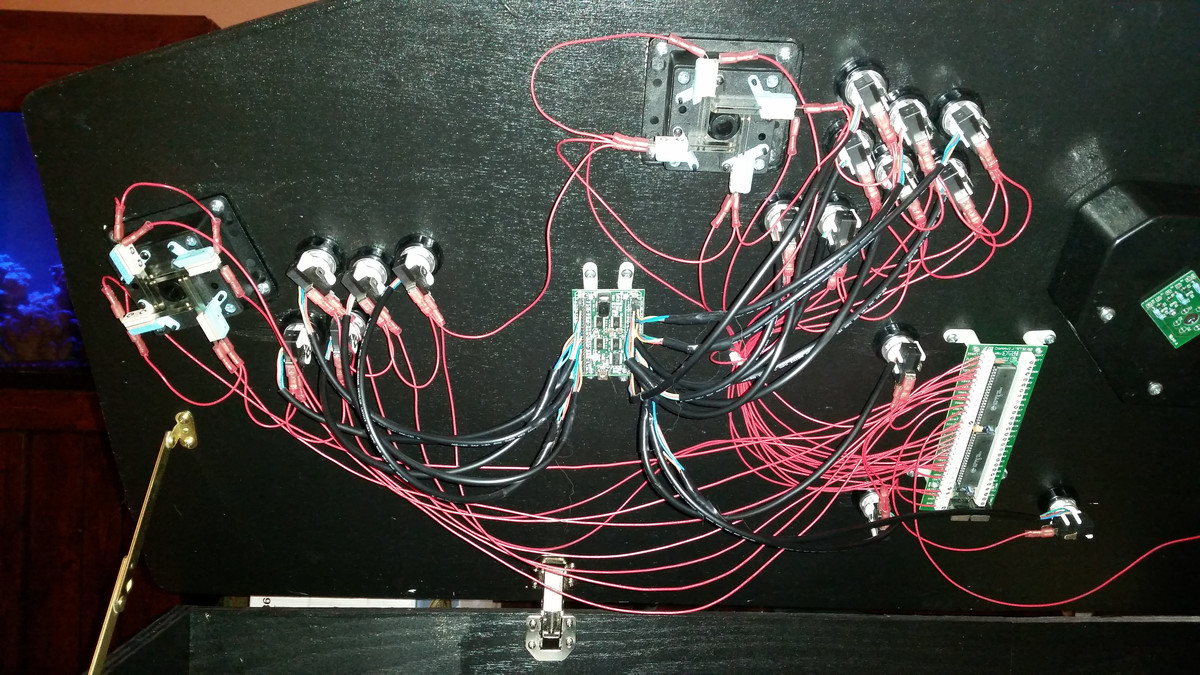 One side a bit more tidy.
 -
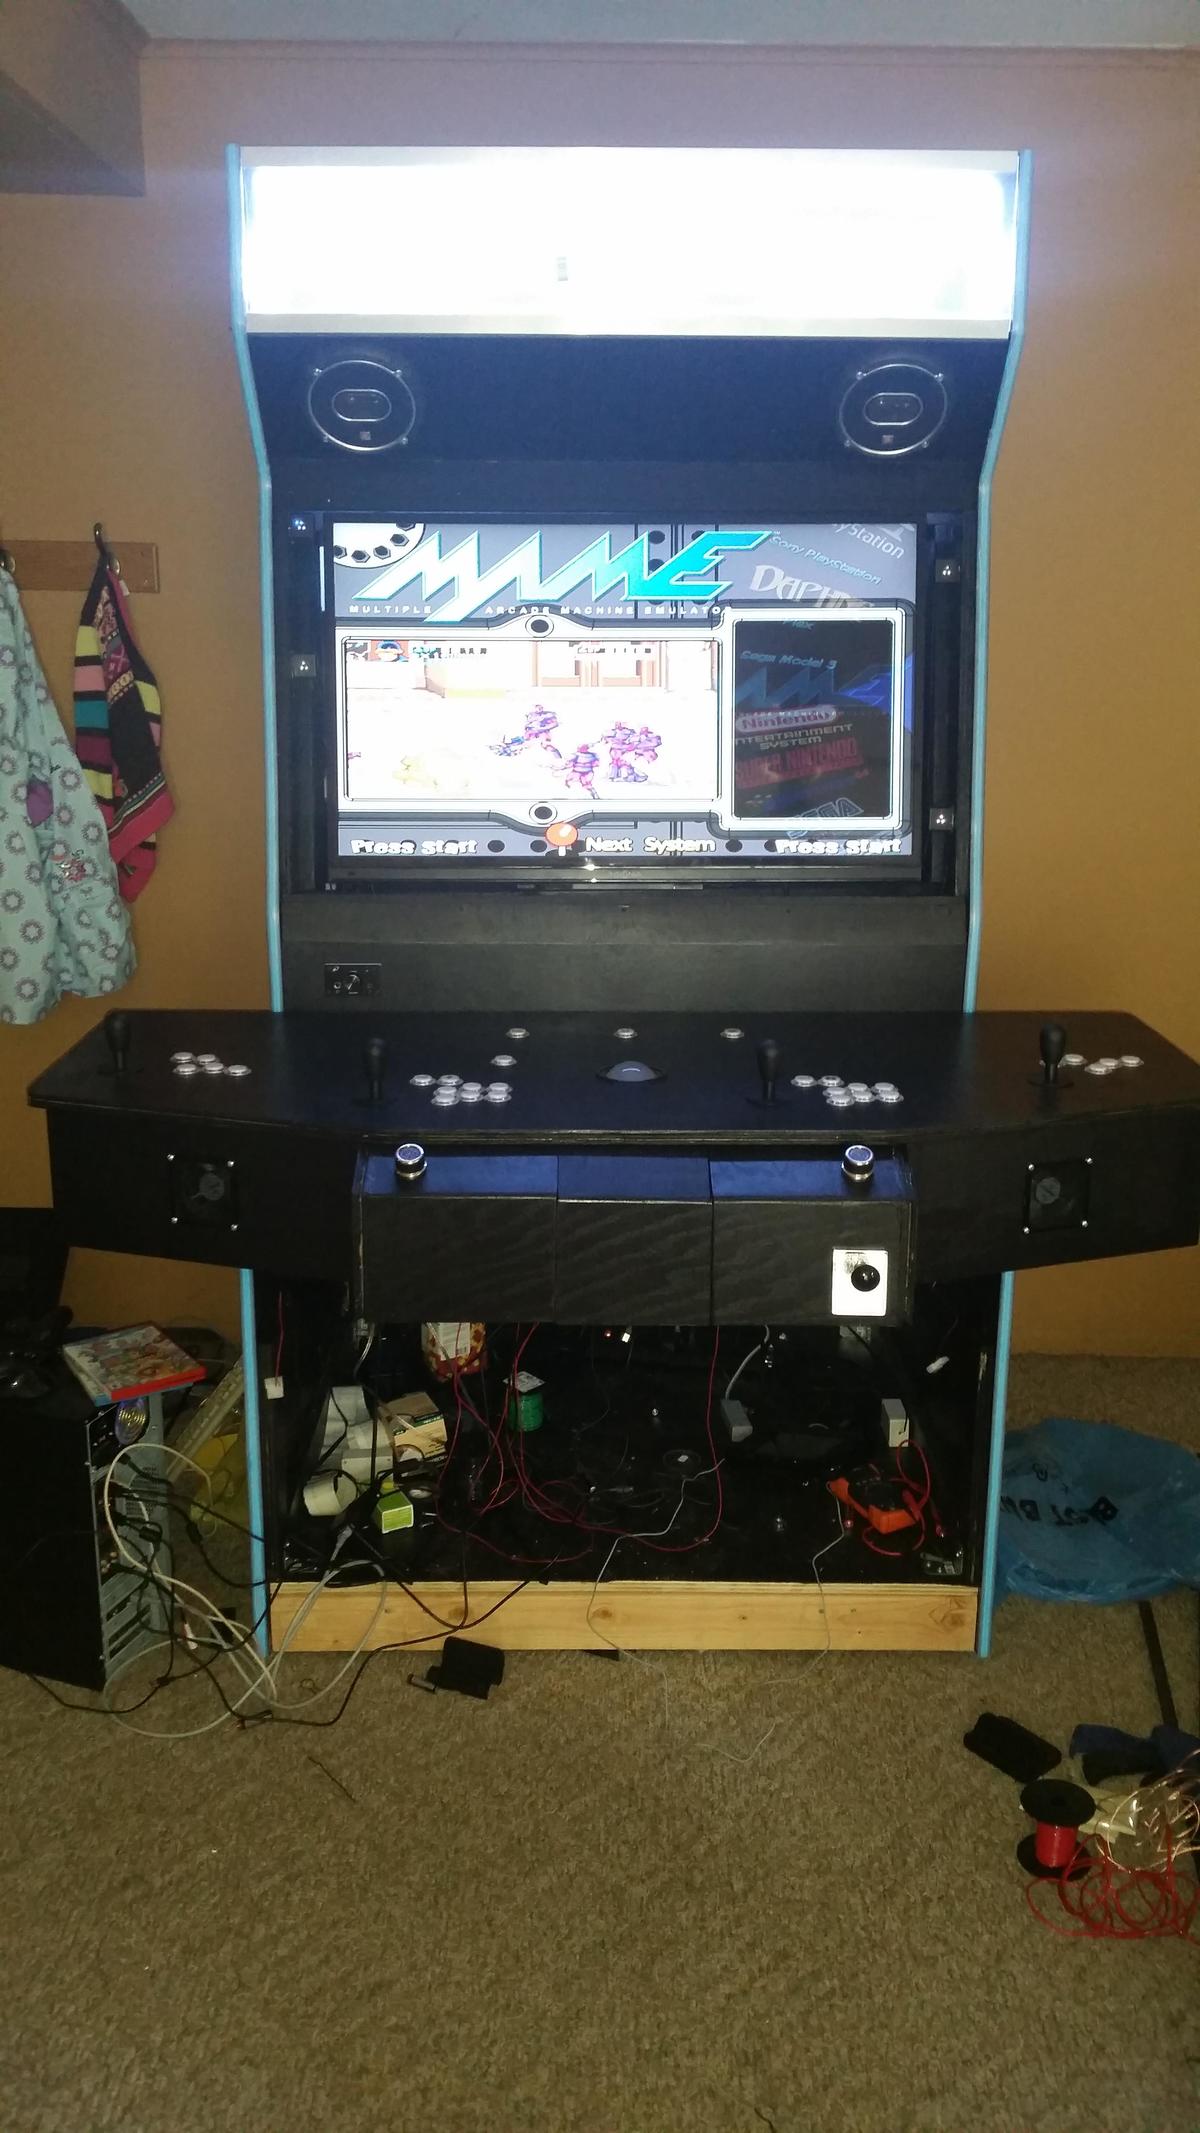
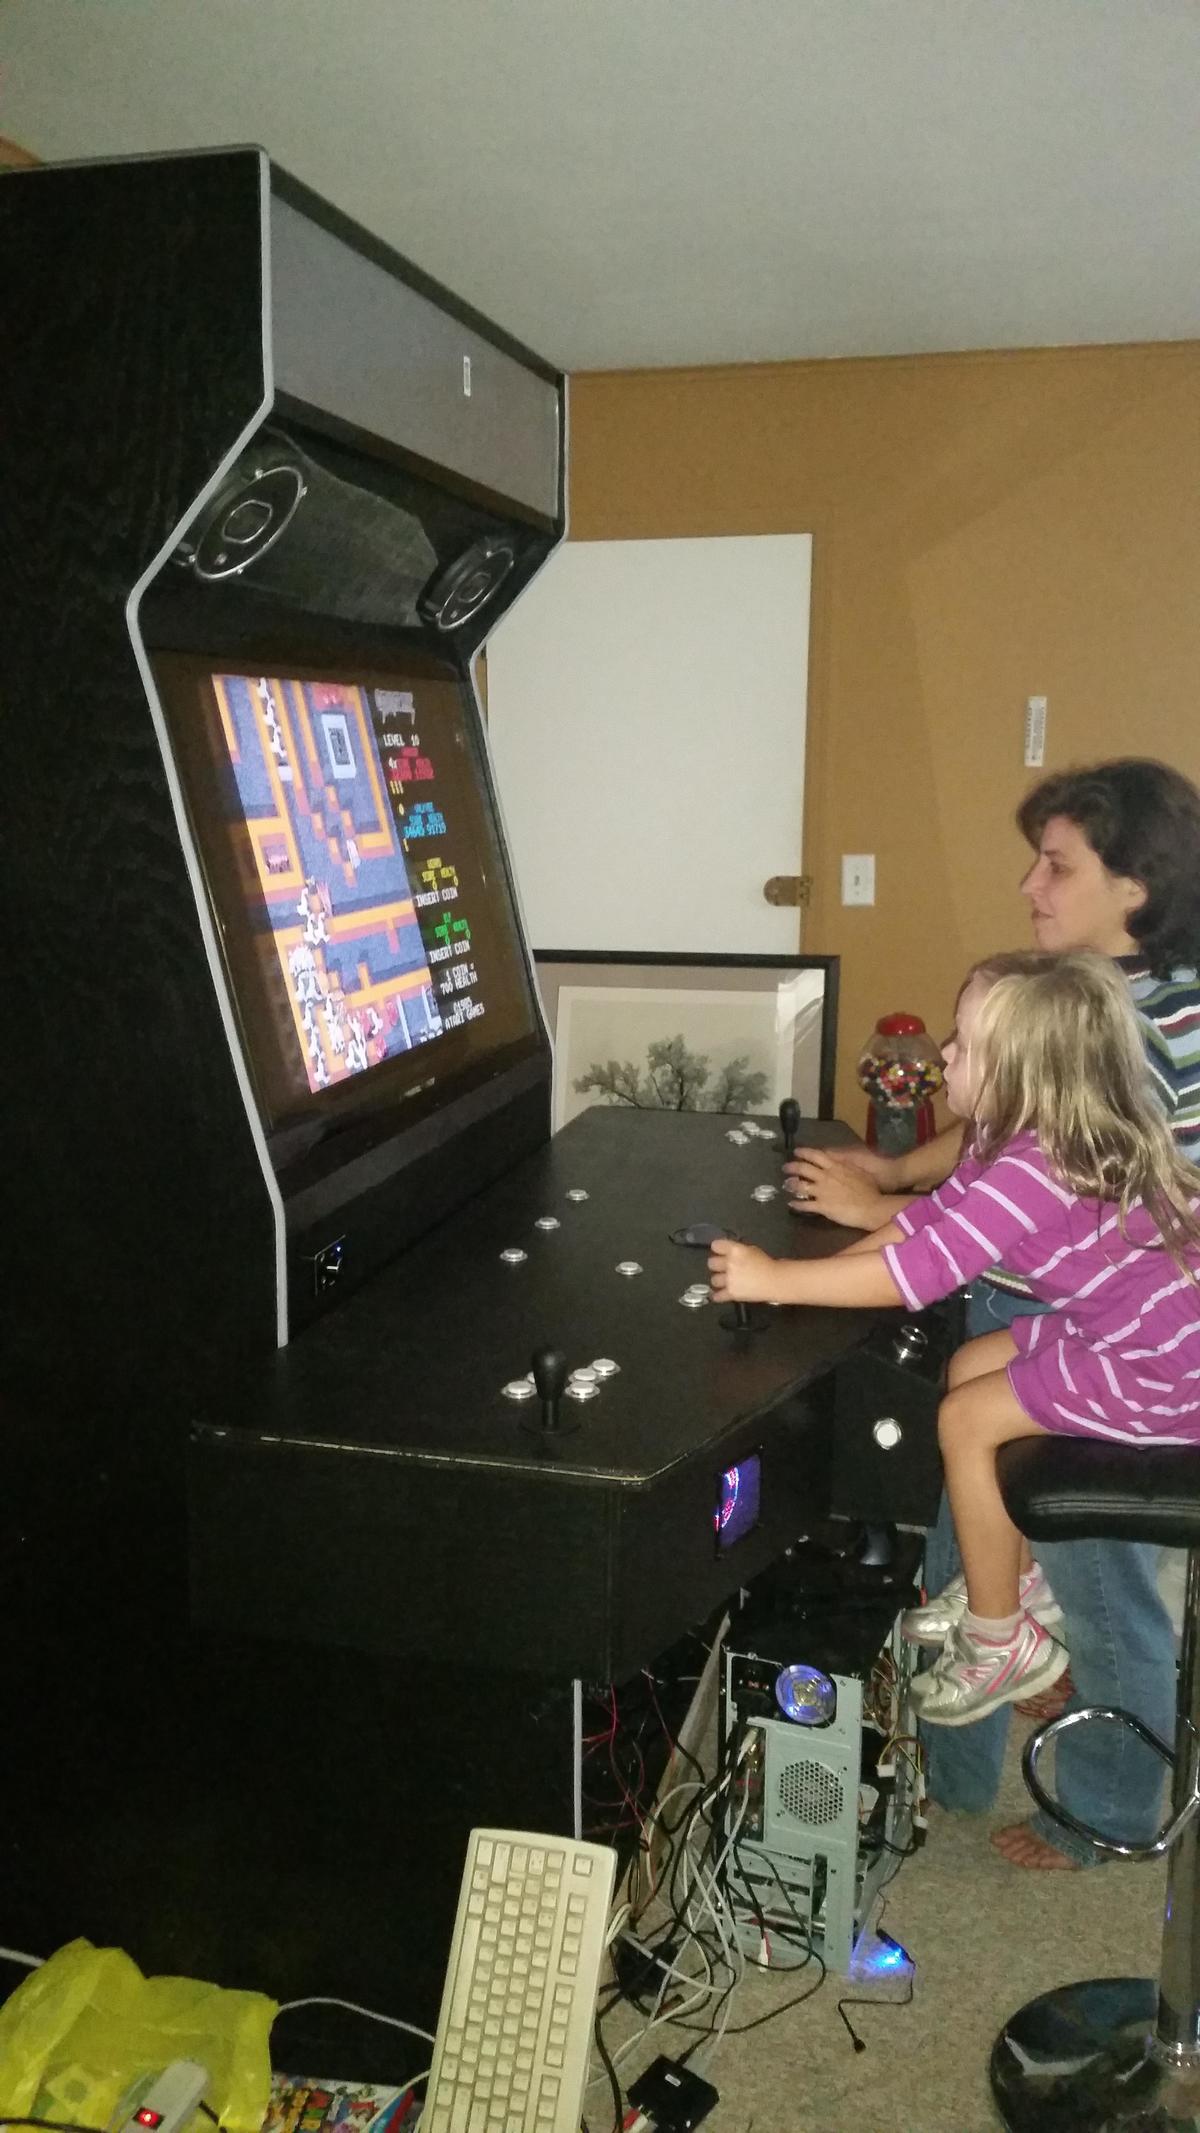 Time for a functionality test! The wife and kid decided on Gauntlet. Looks like they're having fun!
 -
 Of course this is when the control panel artwork comes in! Had to remove all the controls and start over after I installed the artwork.
 -
 Wider angle showing how it will fit on the control panel
 -
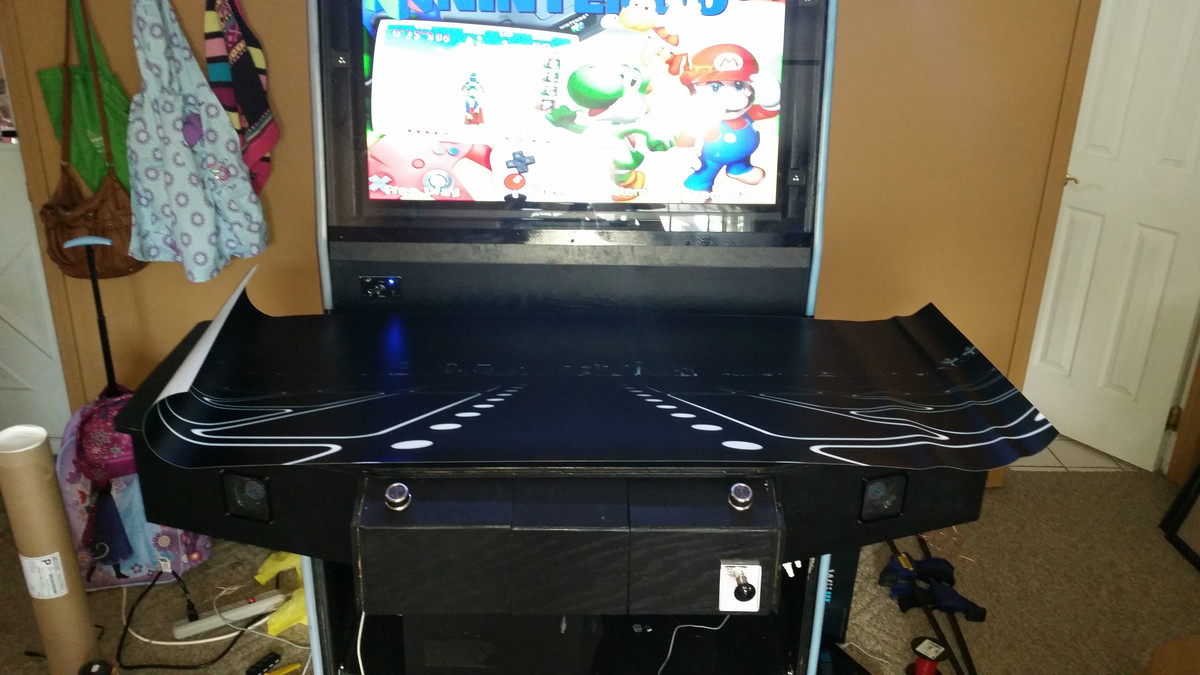
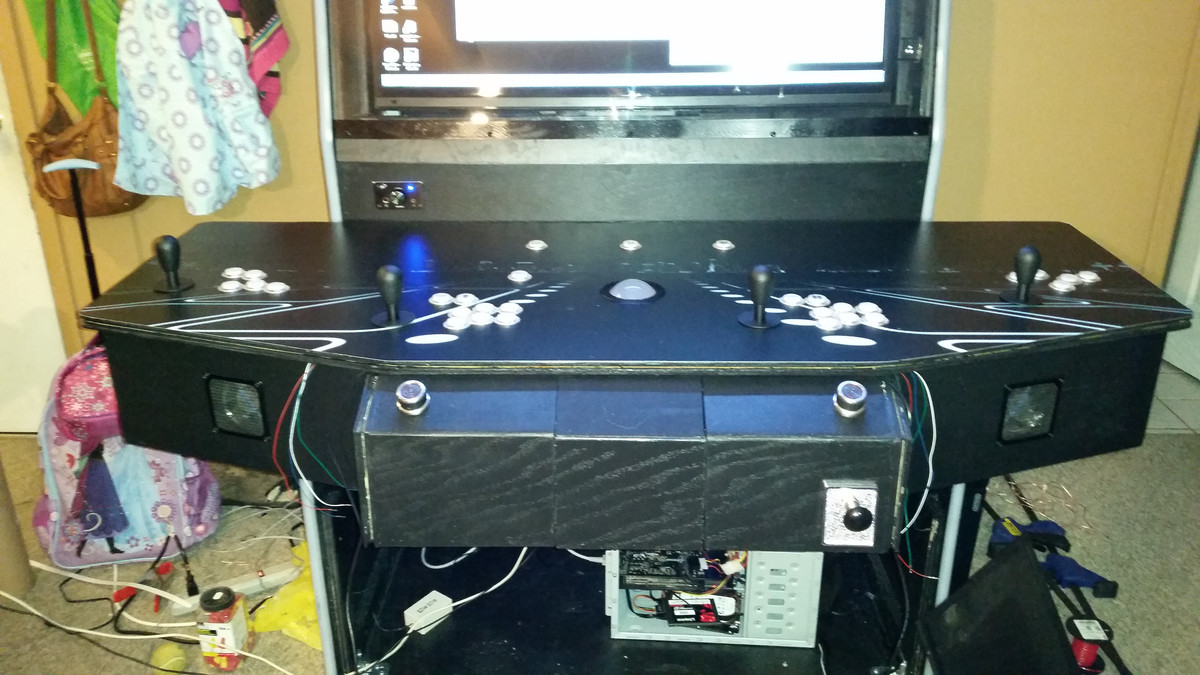 Here it is installed.
 -
 Here us the artwork I had printed for the marquee.
 -
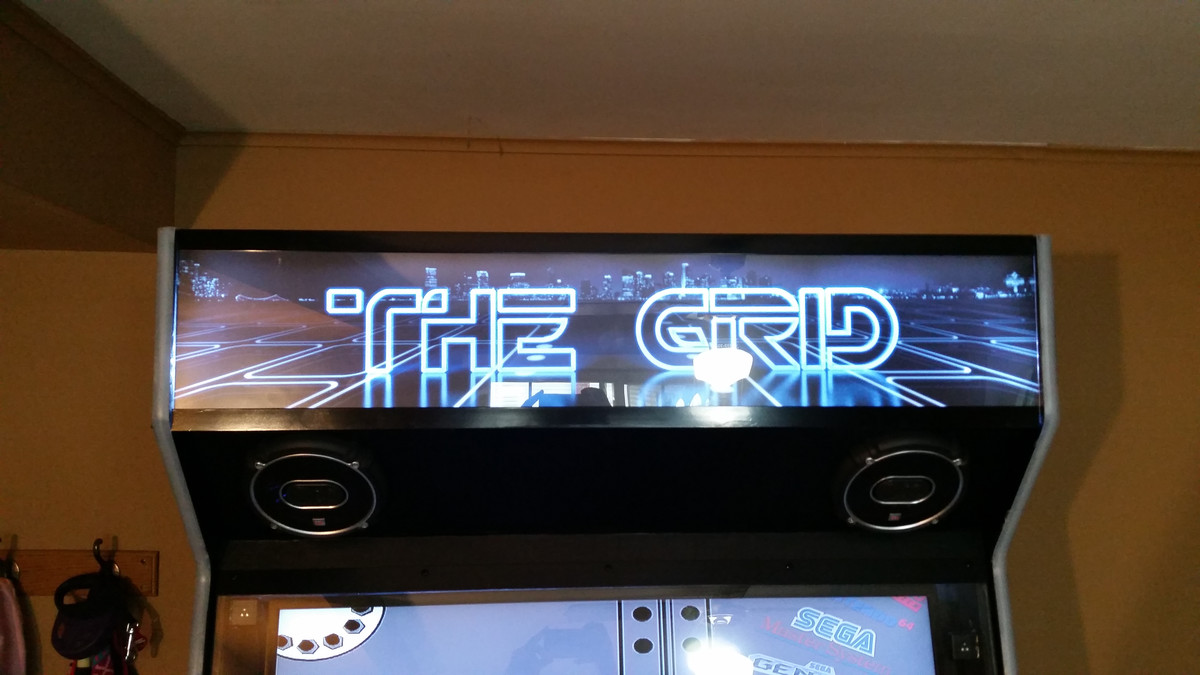 And here it is installed!
 -
 The marquee from another angle
 -
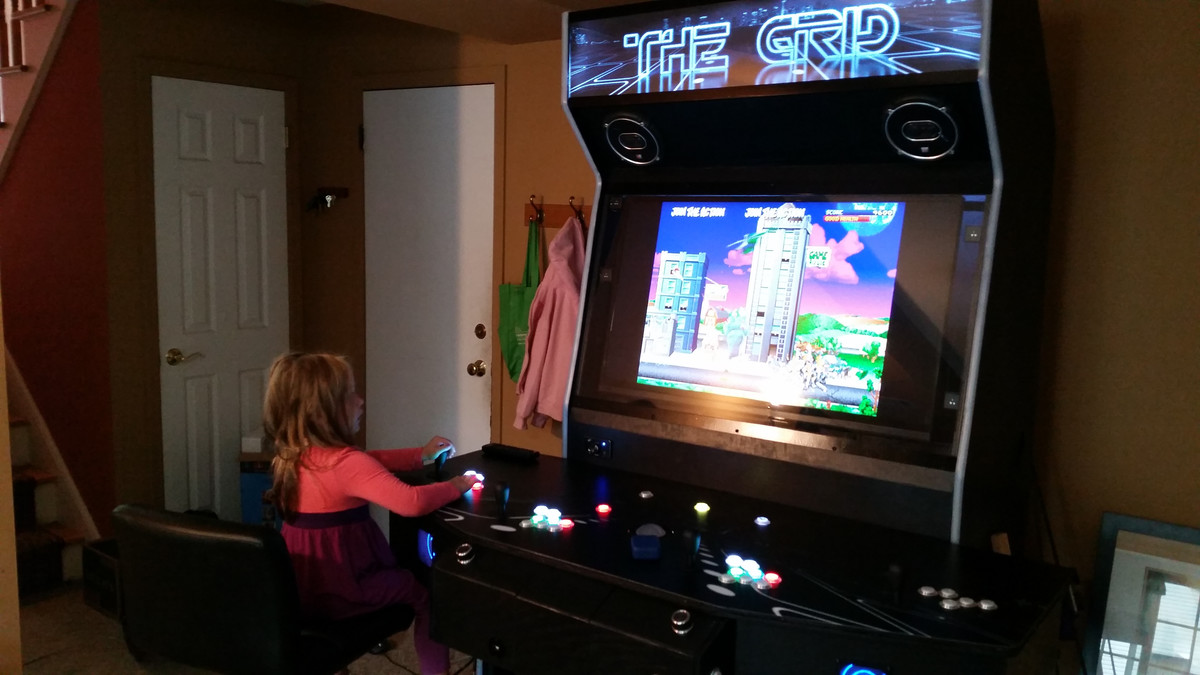 My daughter playing a little Rampage
 -
 All put together!
 -
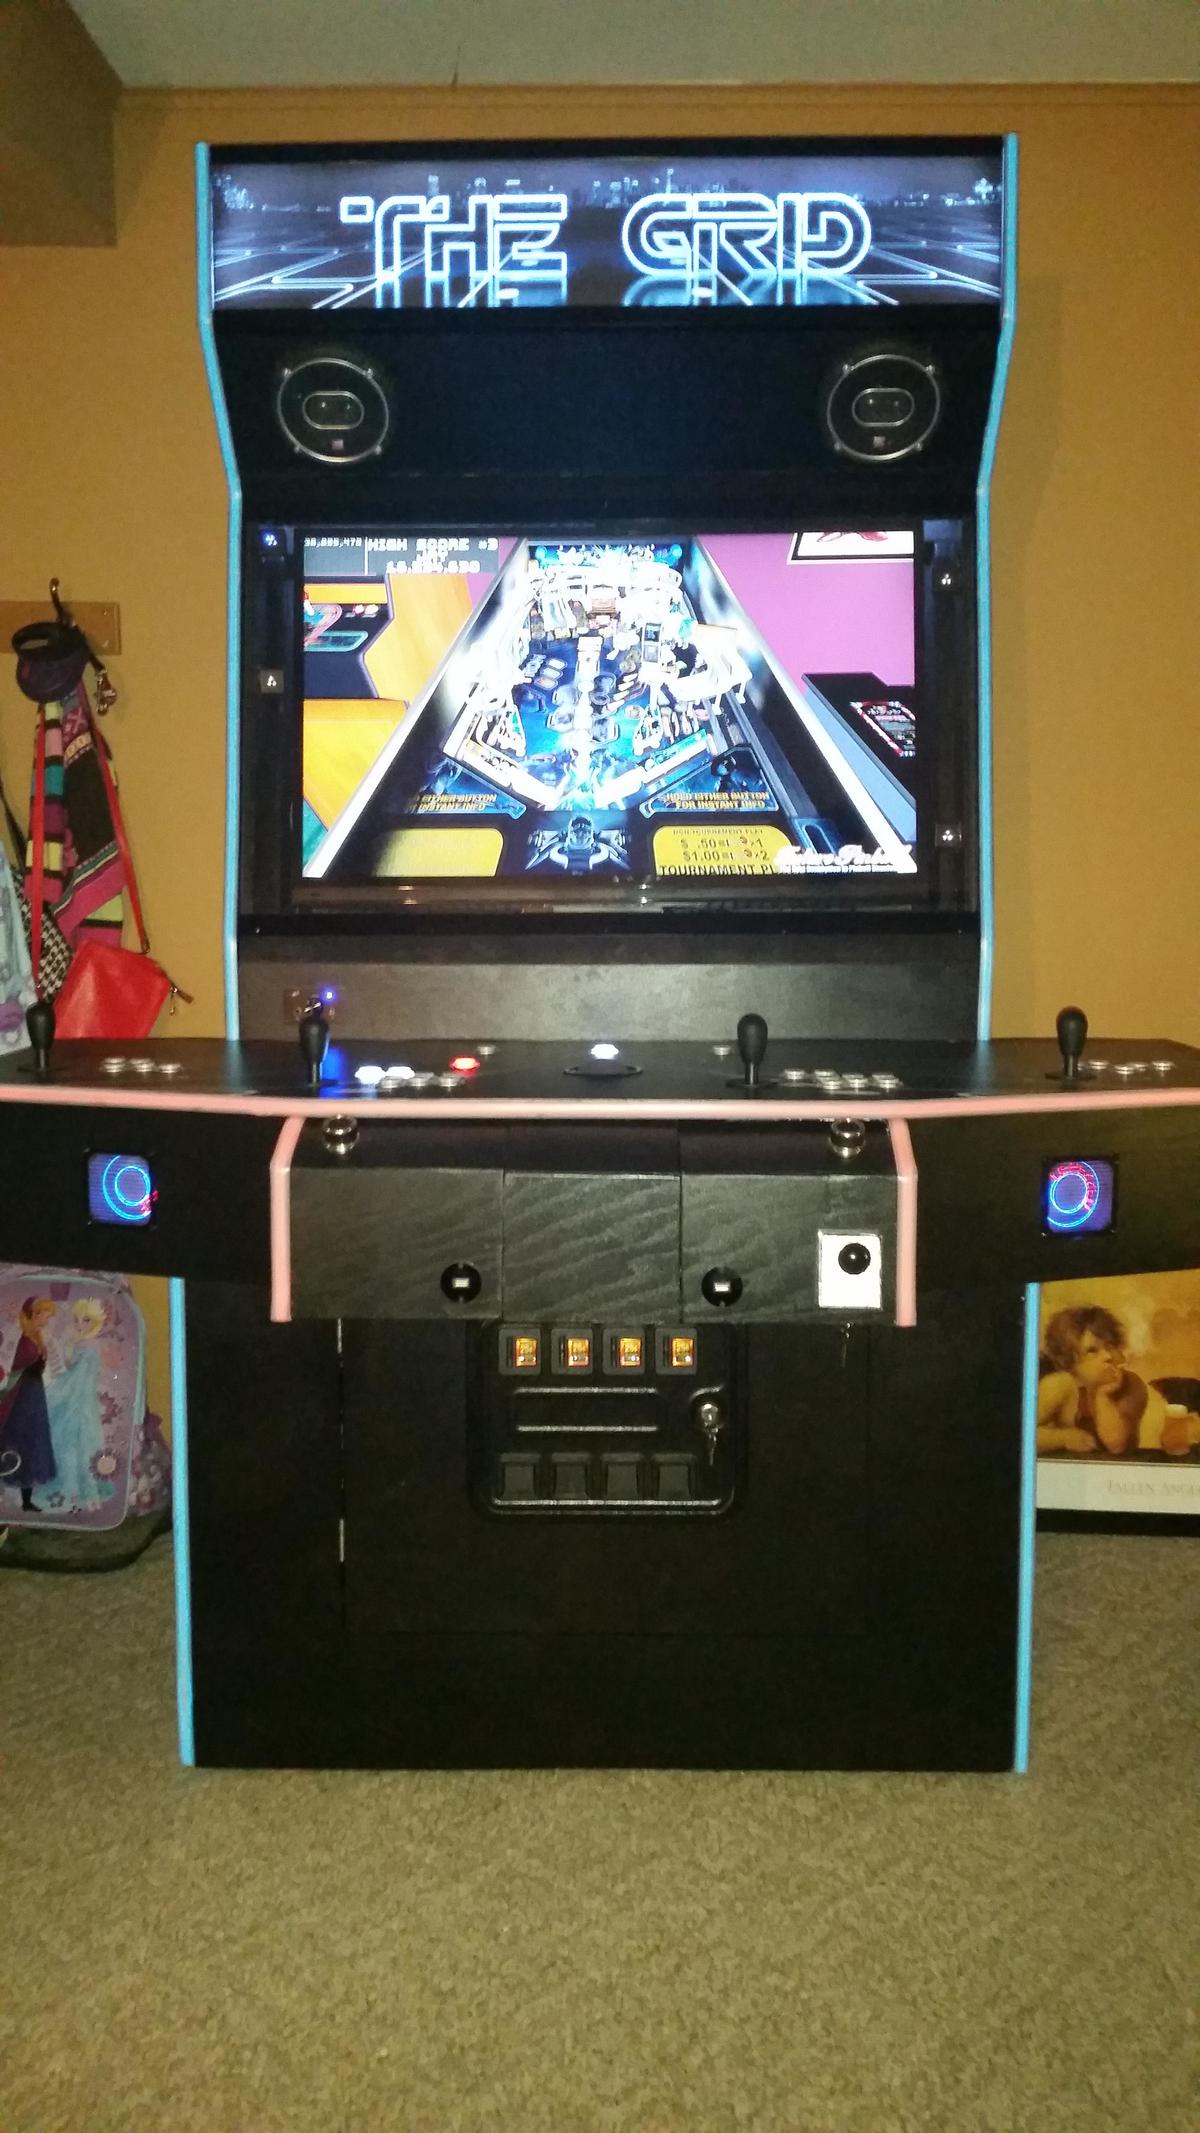 Wider shot of the final product.
 -
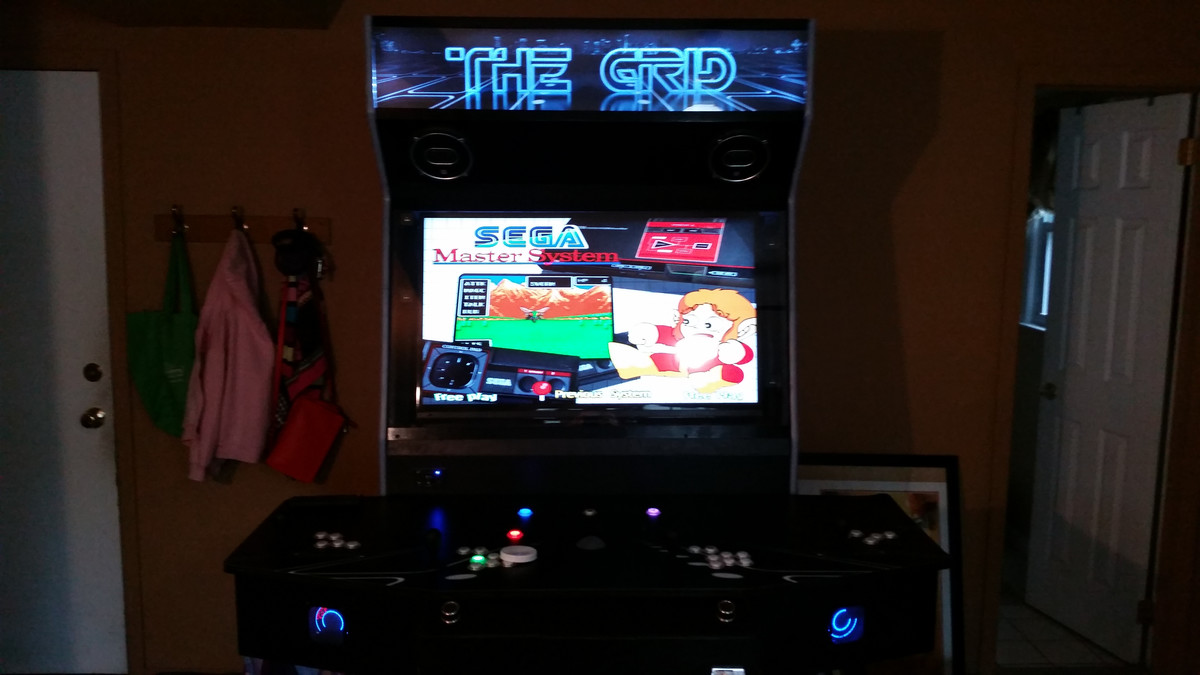
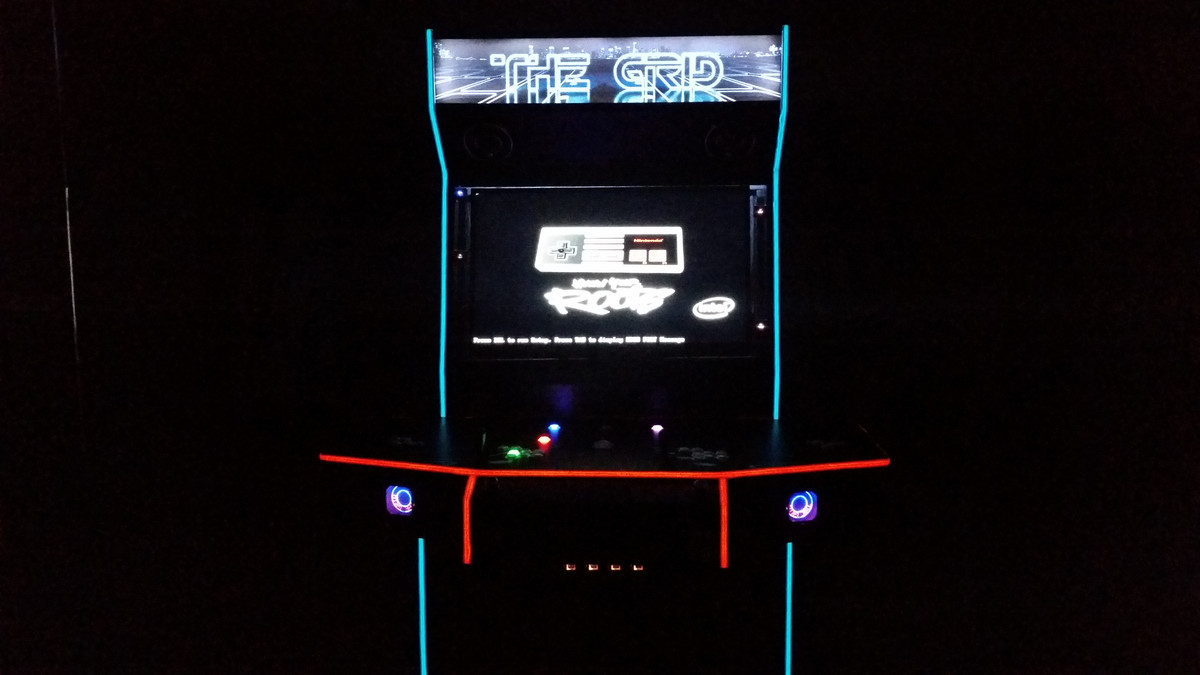 And with the lights off to show off the T-molding
 -
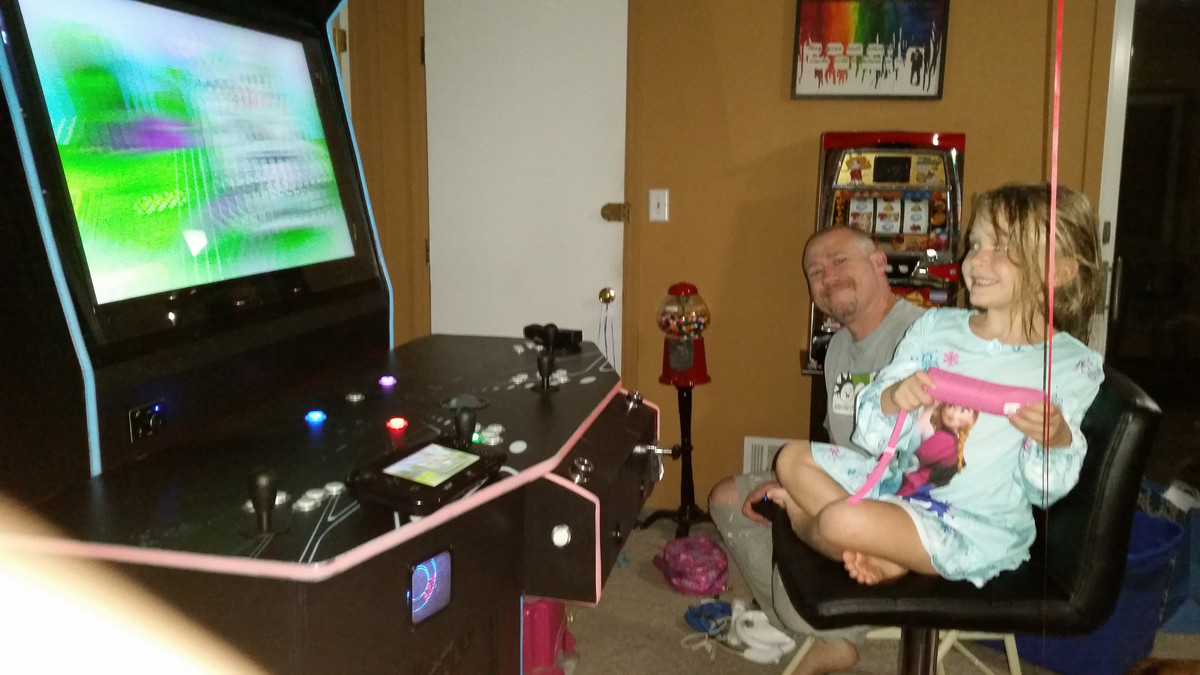 Final shot of me and my daughter enjoying the arcade.